


The complete guide
How To Choose An Expandable Window Screen That Actually Fits
The window nobody opens
Most homes have one. A bedroom window with a torn screen, a kitchen window that never had one, a flat where the landlord took the screens off years ago and never replaced them. The result is the same. On a warm night you have a choice between stale air and a room full of insects, so you leave the window shut and run a fan instead.
Custom screens solve it properly, but they cost real money, they take measuring, and they stay with the building when you leave. For a lot of people that is too much commitment for a problem that only shows up four months a year.
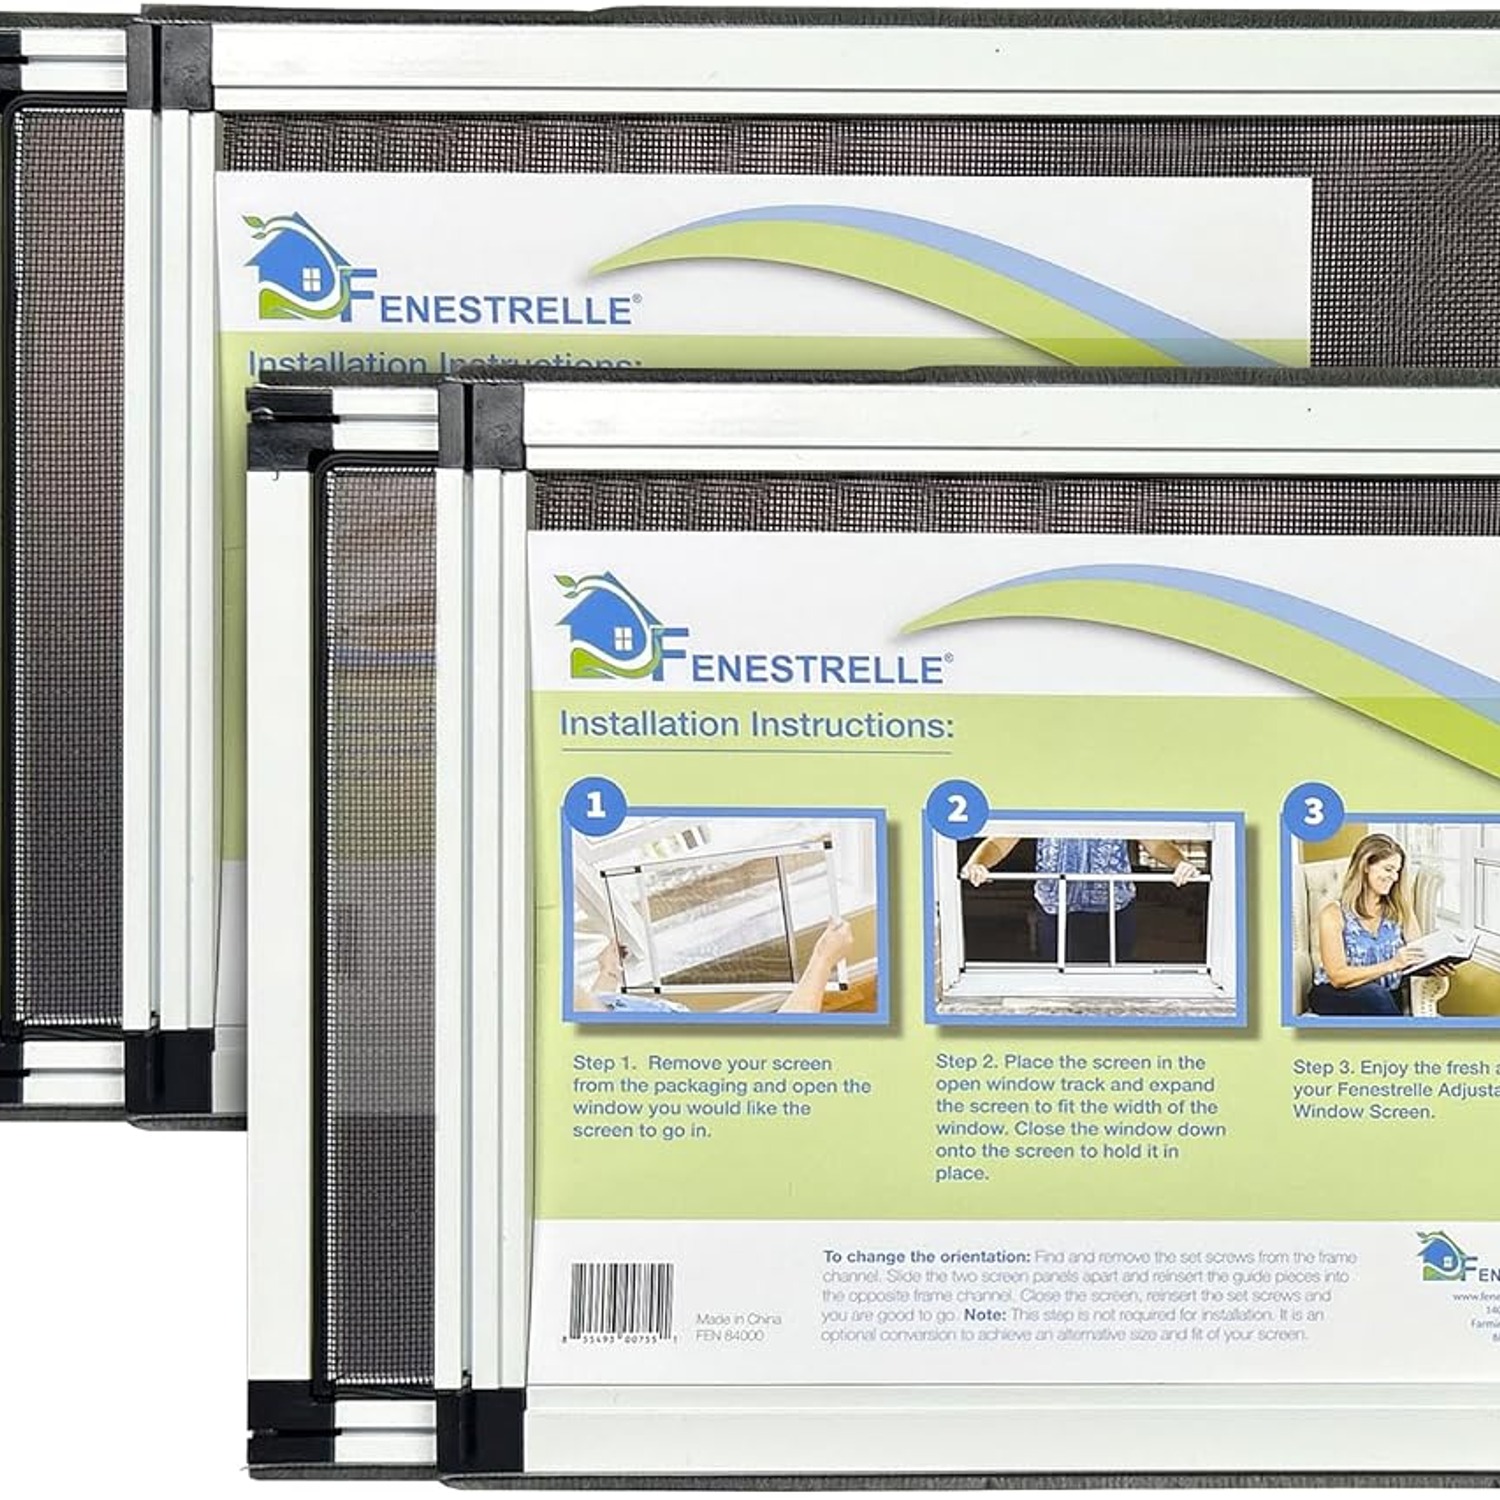
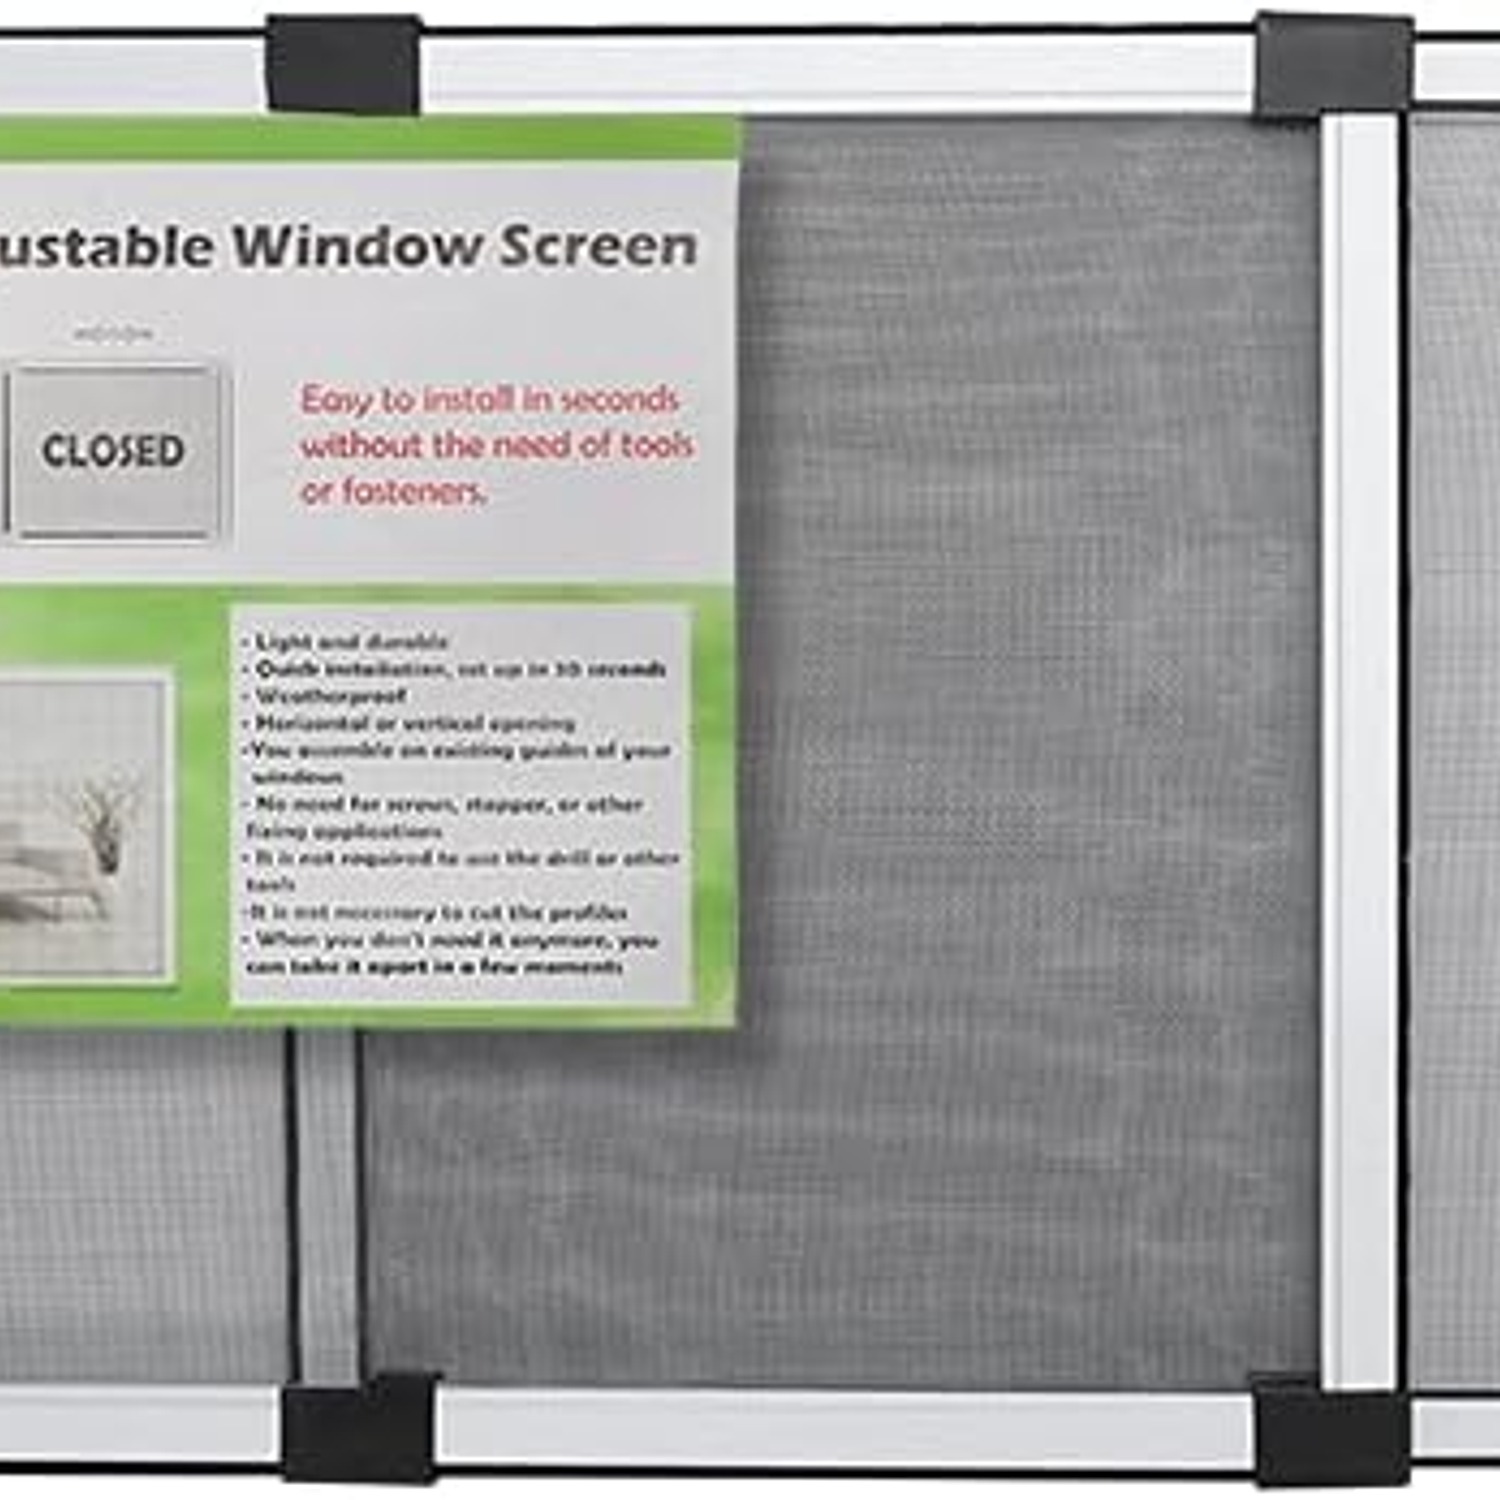
An expandable window screen sits in the middle. It is a framed panel of mesh that widens to match the opening, drops into the window, and is held down by the weight of the sash. No cutting, no screws, no drilling. When the weather turns you take it out and the window goes back to normal.
How it works
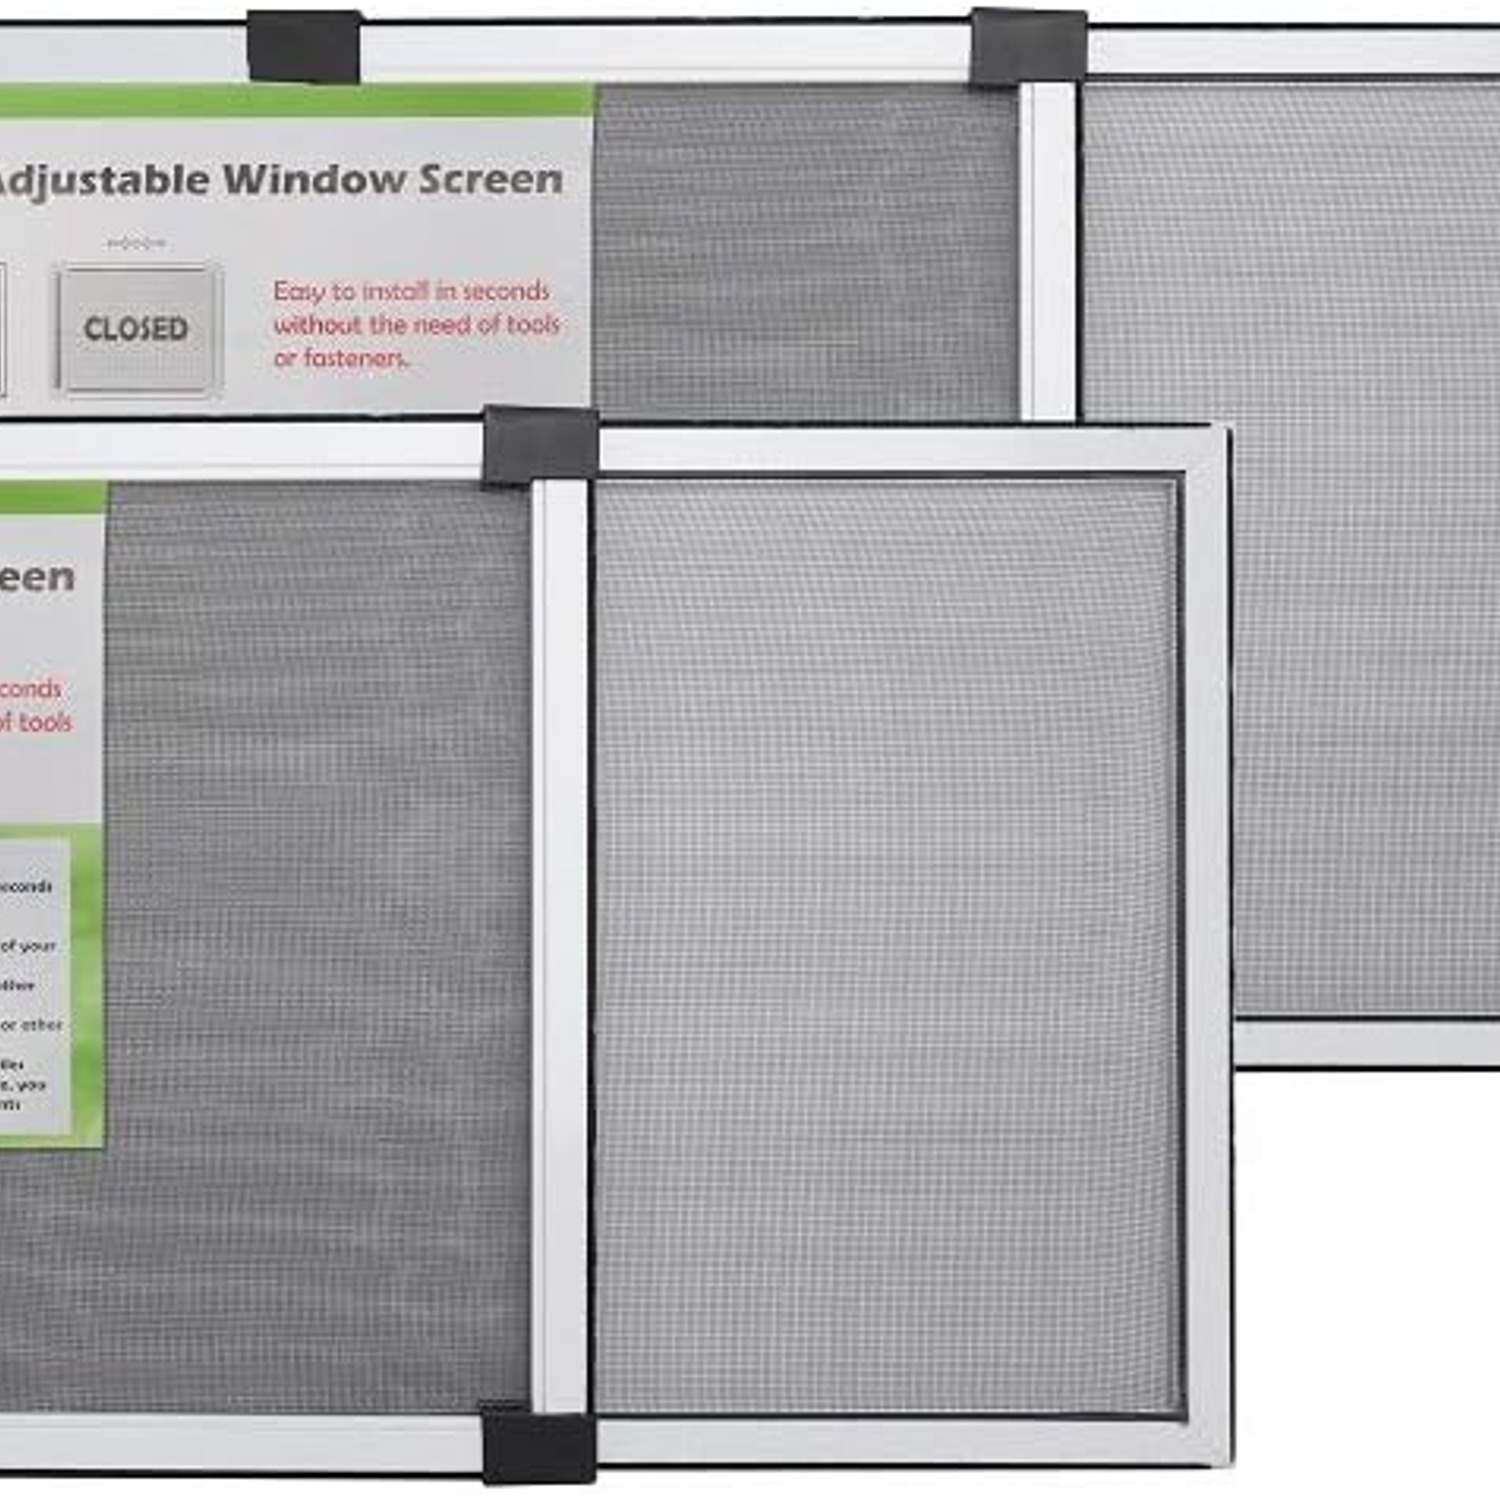
The idea is simple enough that it almost sounds too easy. The screen is built in two overlapping halves inside a frame. You slide them apart until the panel spans the width of your opening. Then you lift the lower sash, place the screen in the gap, and lower the sash back down onto the top edge of the frame. That downward pressure is what holds everything in place.
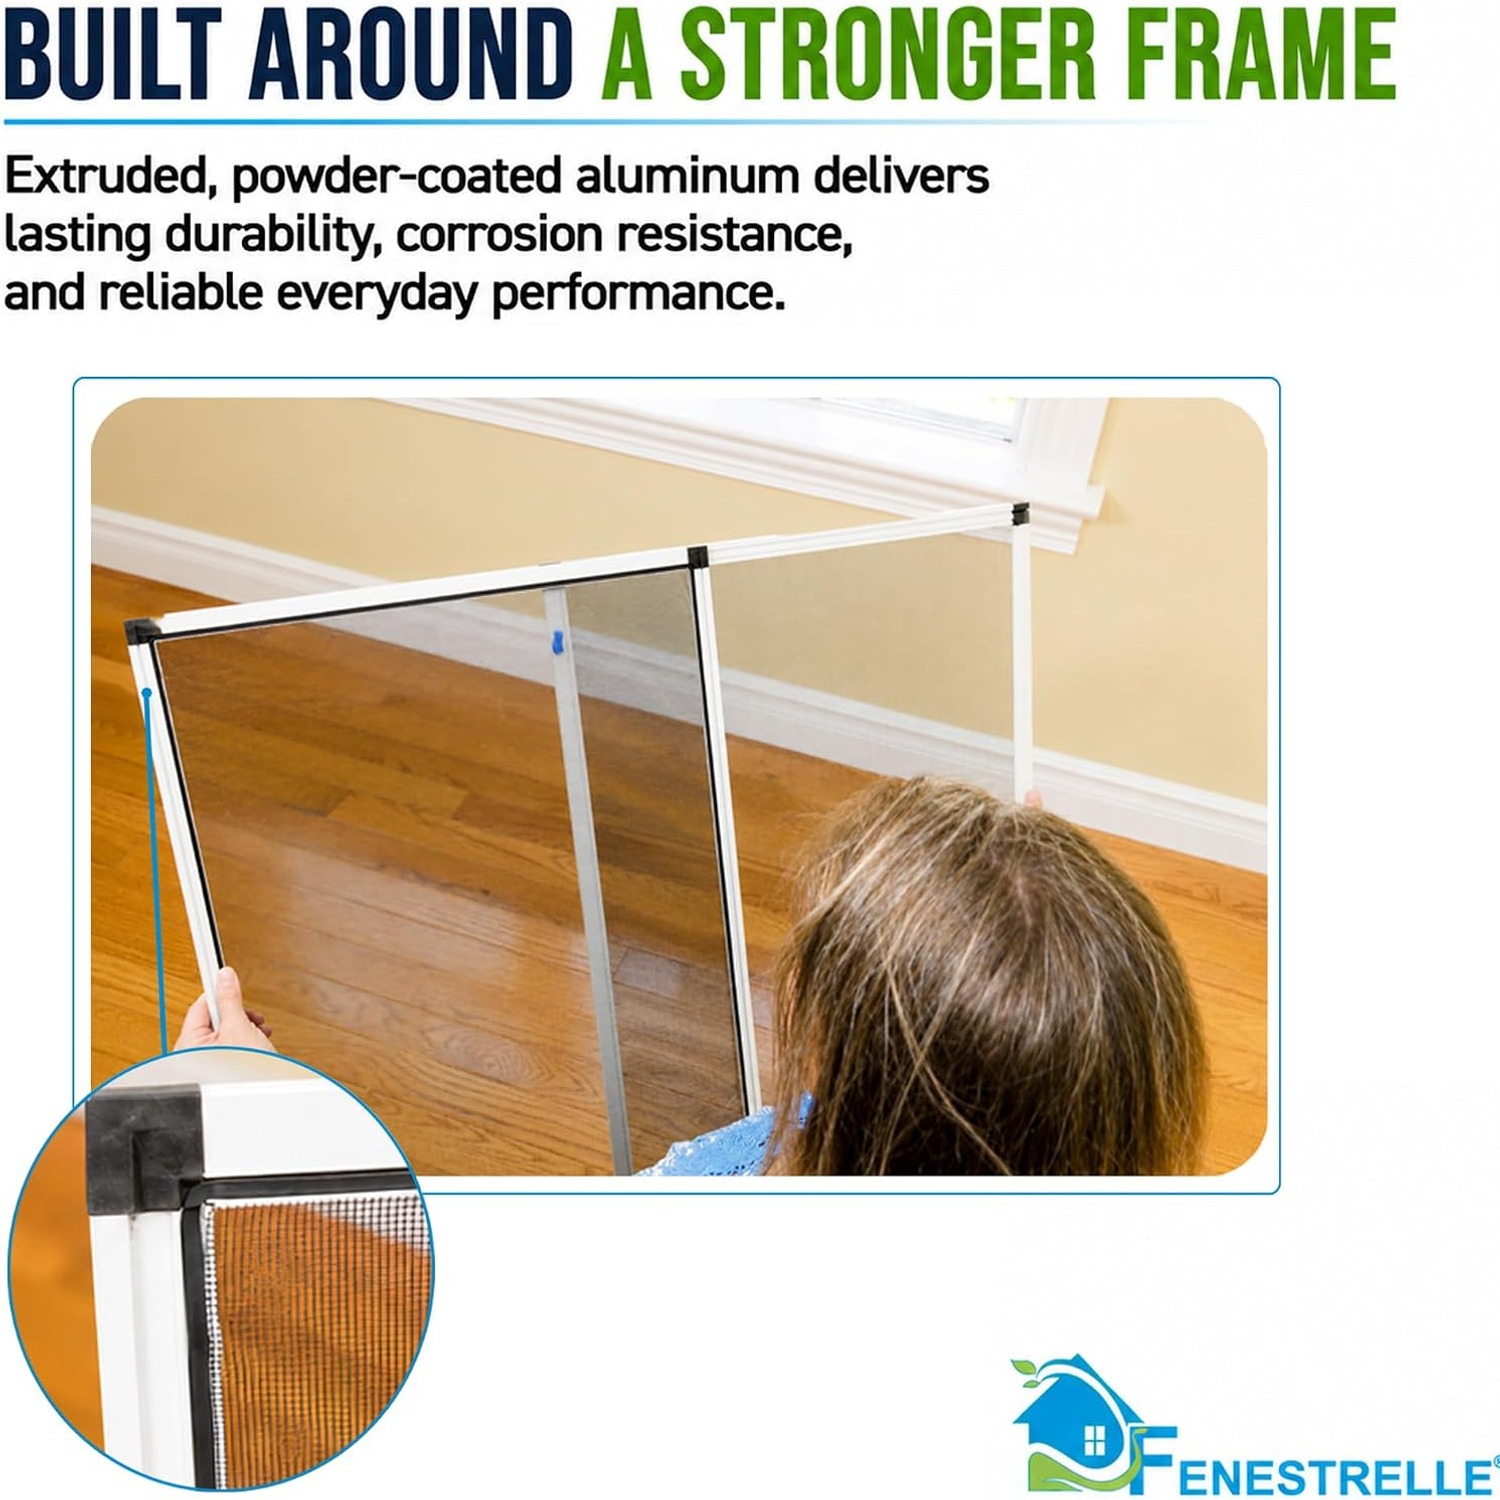
Three parts do the work. The frame is powder-coated aluminum, chosen because it is light, it will not rust, and the coating gives a tidy finish rather than a raw metal edge. The mesh is fiberglass, which is standard for insect screening because the weave is fine and even, and it tends to spring back from knocks instead of creasing permanently. The third part is the felt weatherstripping that lines the edges.
That felt is the piece people overlook. A screen can sit almost flush against a sill and still leave a thin line of daylight along the bottom. Mosquitoes find those lines. The felt compresses and closes them, and it also helps on rough or slightly uneven surfaces where a hard edge would never sit flat.
Who this suits
Renters get the most obvious benefit. Nothing is fixed to the building, so there is nothing to patch or explain at the end of a lease. The screen leaves with you.
Holiday homes and caravans are another good fit. These are places you occupy in bursts, often in warm weather, and the idea of fitting permanent screens to a place you visit six weekends a year never quite makes it to the top of the list. A tool free window screen can go in the car and be installed on arrival.
Older houses benefit too. Window openings in period homes are rarely square, and the surfaces are often painted timber with decades of brush marks. A rigid cut-to-size insert fights that. A frame with felt edges copes with it.
Then there is the straightforward case of one problem window. You do not need a whole-house solution. You need the kitchen window open while you cook, or the bedroom window open while you sleep, and nothing more complicated than that.
Getting the size right
This is where orders go wrong, so it is worth slowing down.
Measure the clear opening, not the outside of the window frame. Lift the sash as you would when the window is open, then measure the gap left behind, side to side at its widest point. That number is what matters.
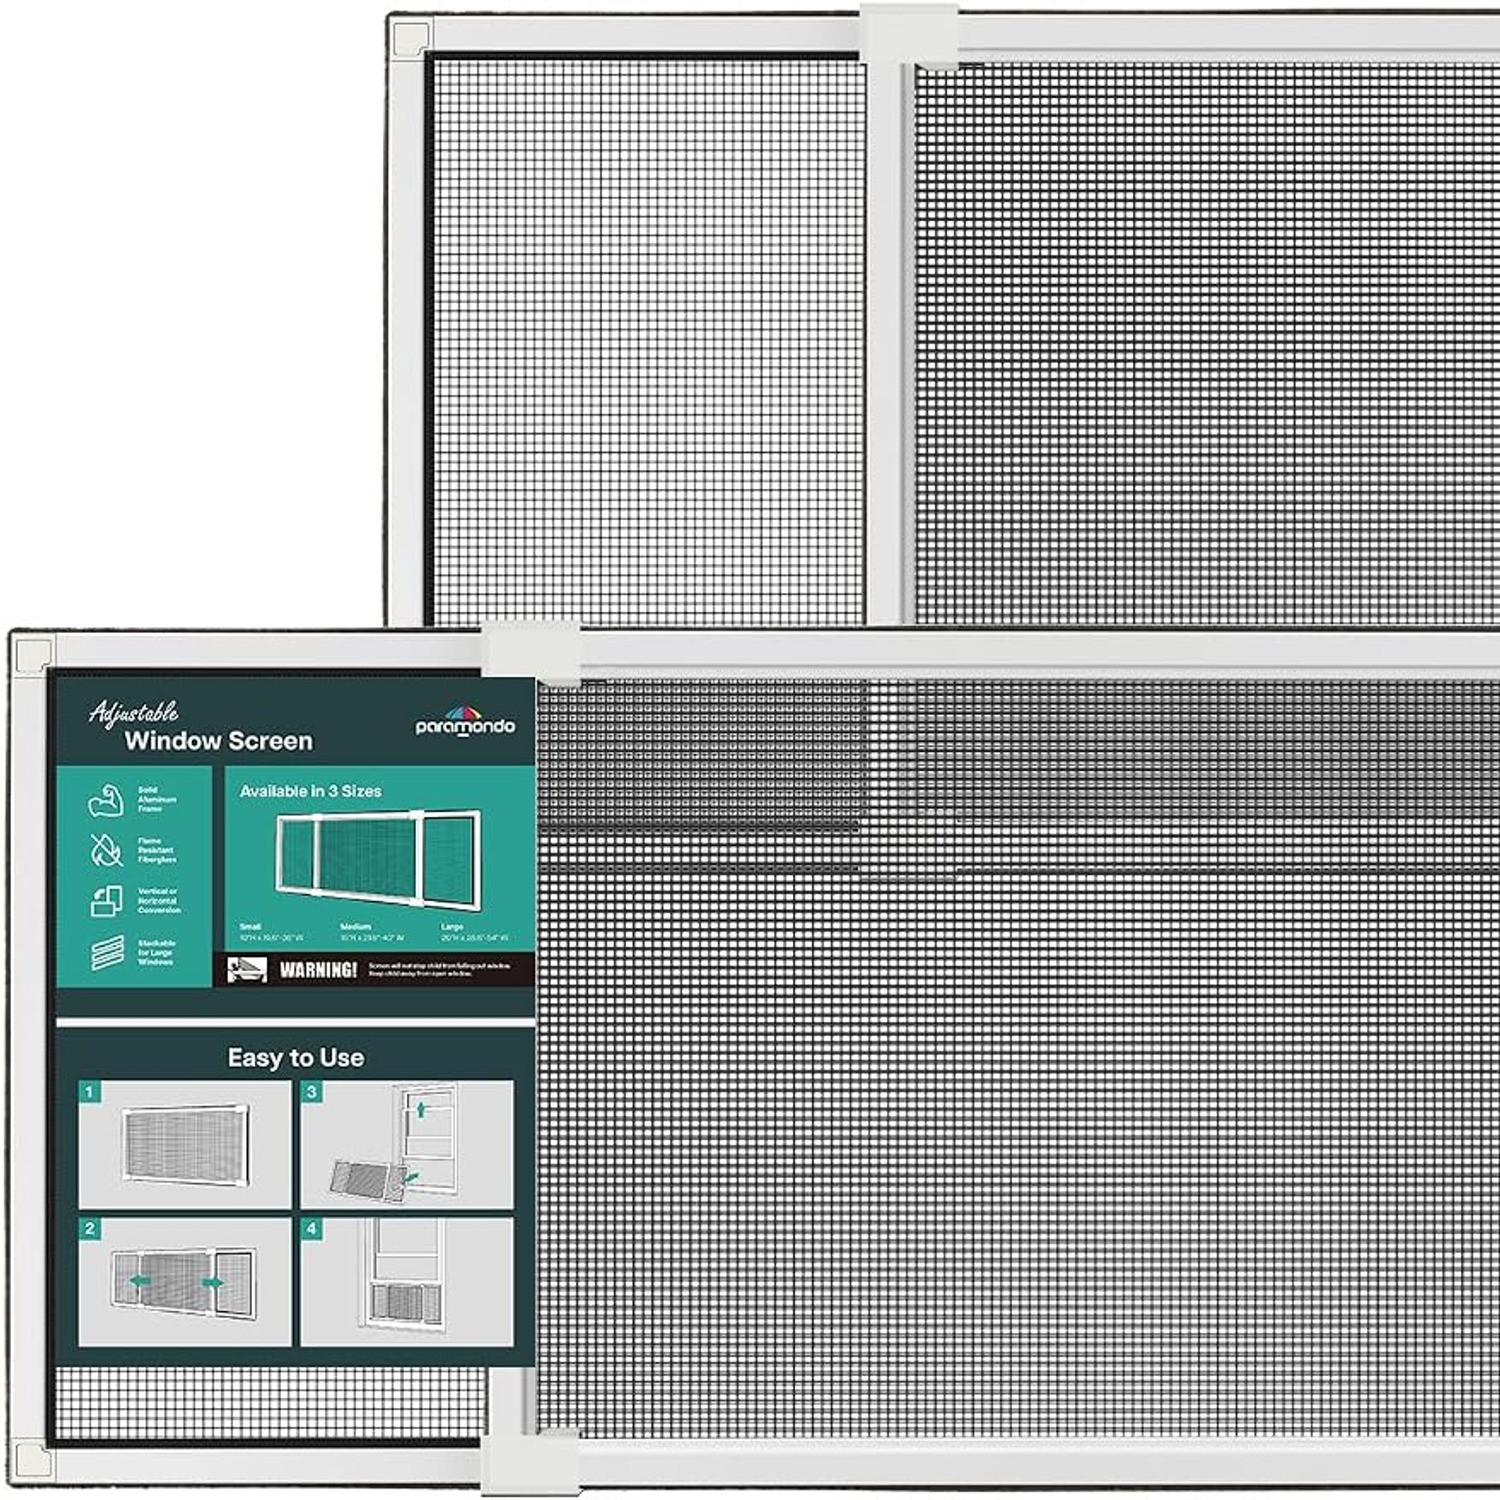
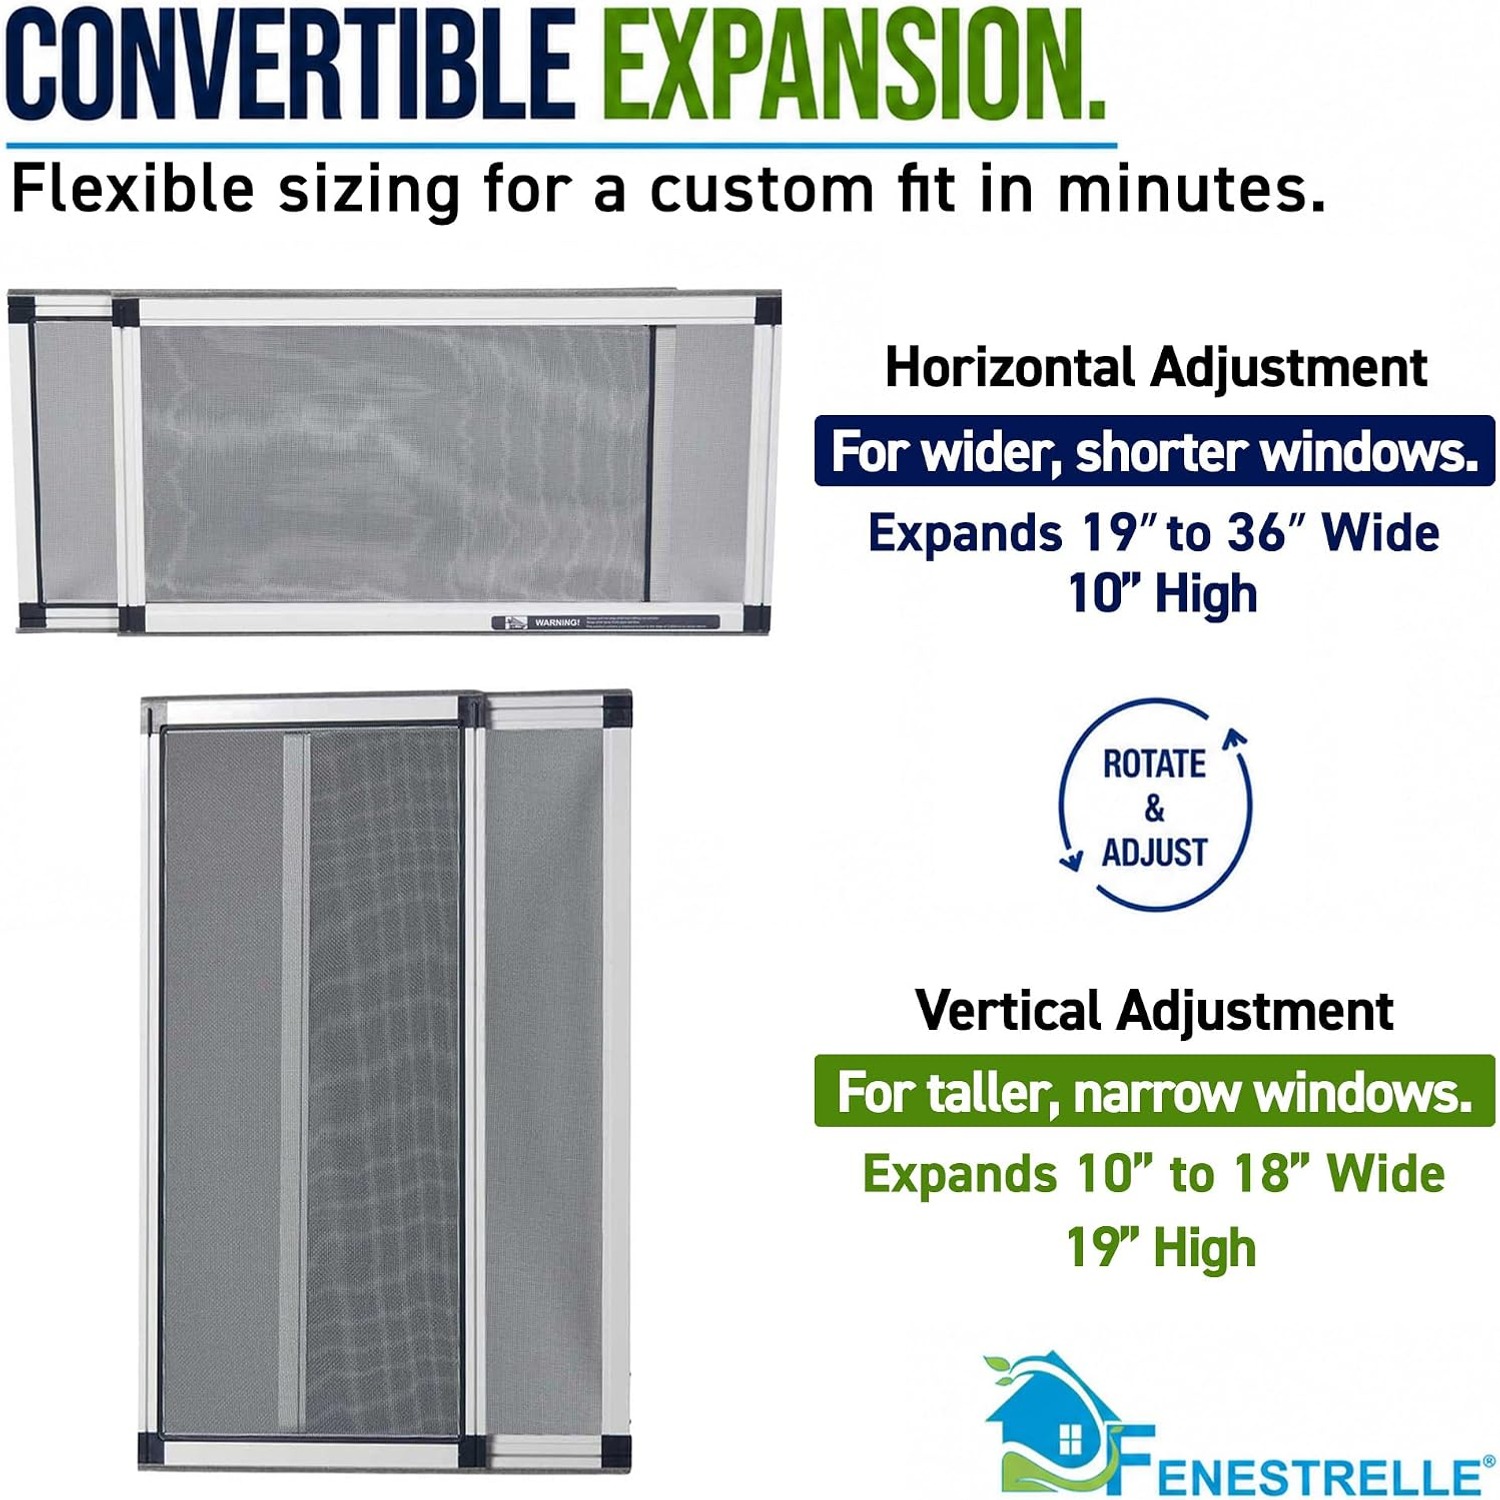
This size, the small one, is 10 inches high and expands from 19 inches to 36 inches wide. If your clear opening measures somewhere inside that width range, you are fine. If it is wider, you have two options. You can place both panels from the pack side by side and press the inner edges together, which works well on wide kitchen windows. Or you can step up to a larger size.
Height is more forgiving than people expect. The screen does not need to fill the whole opening vertically. If you only lift the sash 10 inches, the screen fills it completely. If you lift it higher, the top of the opening stays uncovered, which defeats the purpose, so lift the sash only as far as the screen height.
Check the window type as well. This is built for vertically sliding windows, where the sash can press down on the screen. Horizontal sliders often work if you rotate the orientation, but test it in daylight. Casement windows that crank outward are not suitable, because there is no sash to clamp the screen in place.
Fitting it without a fuss
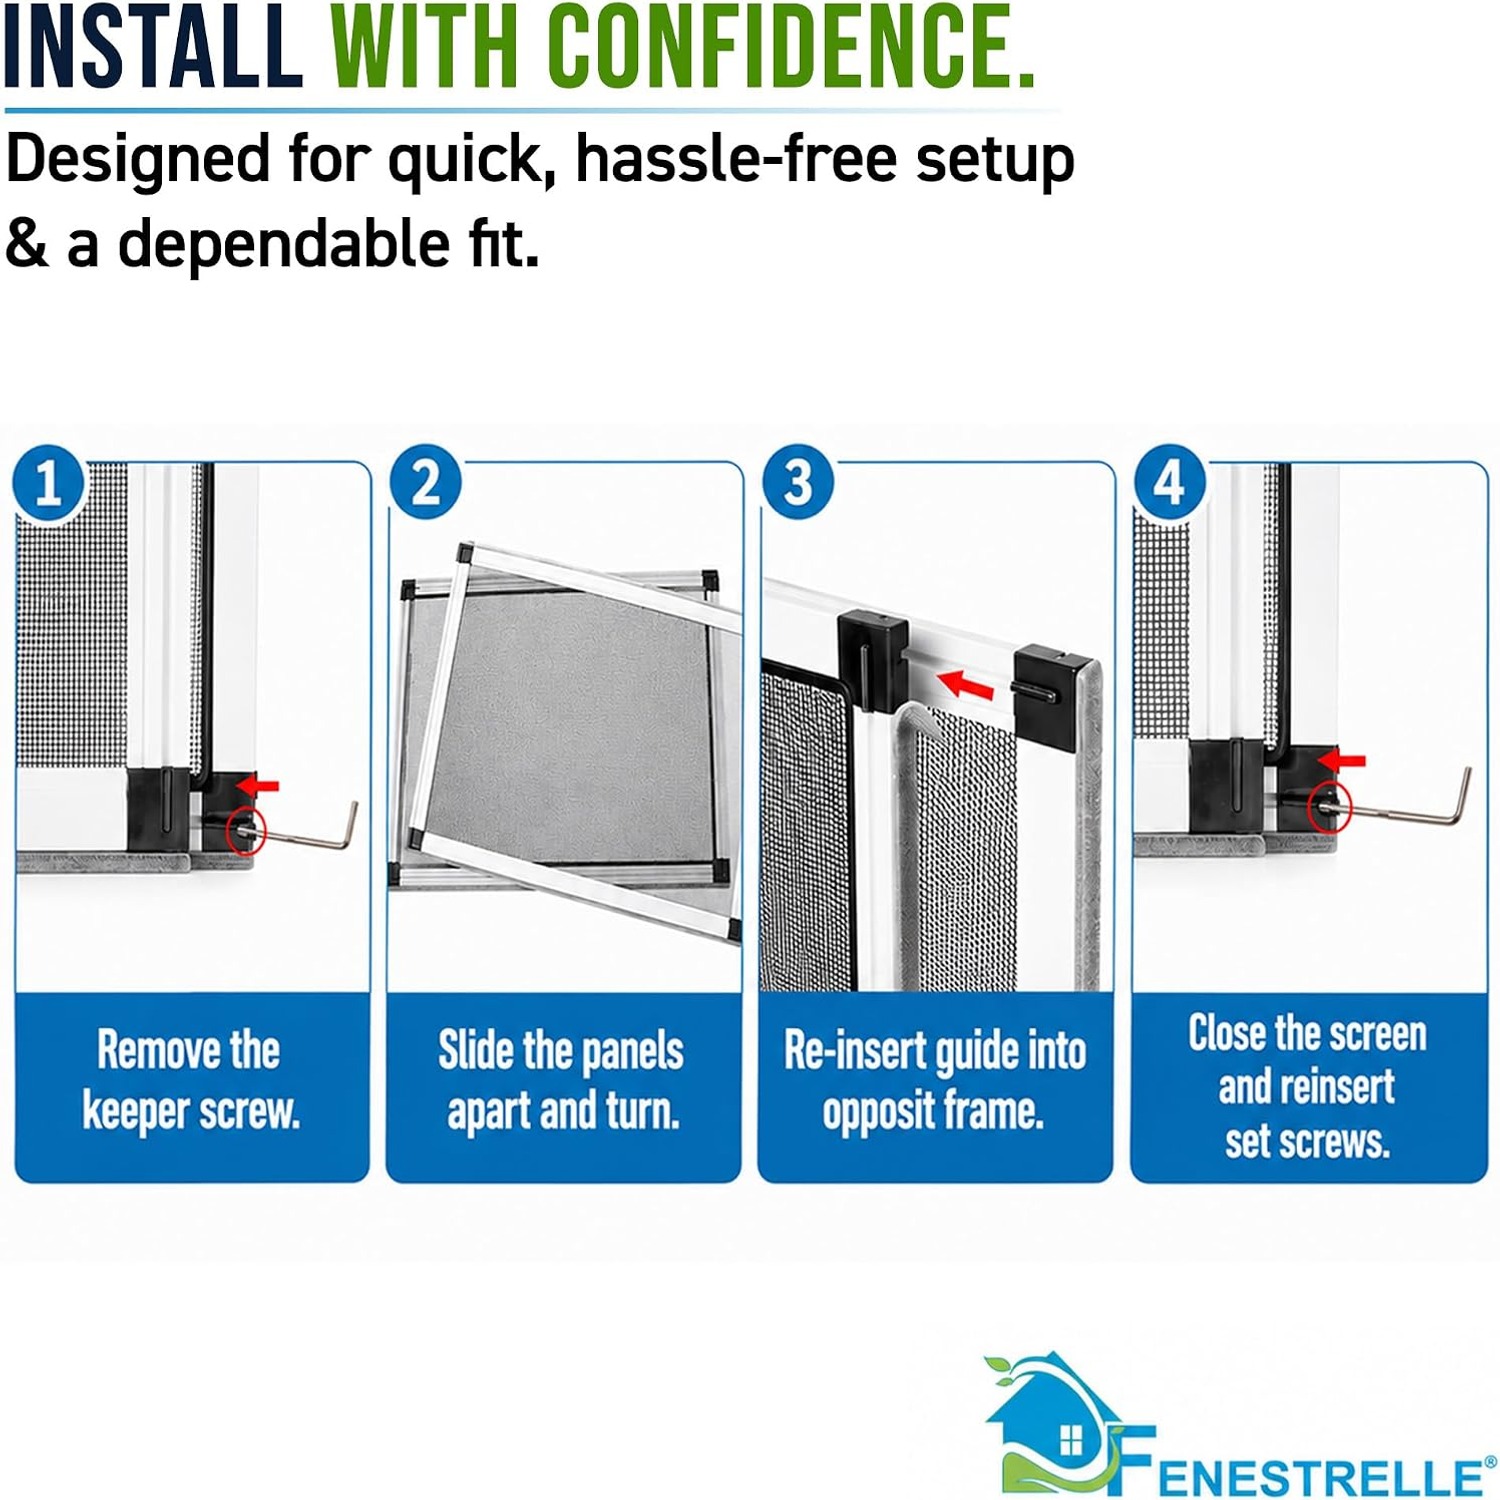
Open the window to roughly the height of the screen. Hold the screen by the frame, not the mesh, and set the fixed half against one side of the opening. Slide the other half out until it meets the opposite side with a little resistance, enough that it holds itself but not so much that the frame bows.
Lower the sash onto the top of the frame. You should feel it settle. Give the screen a gentle push from the inside to check it does not shift. That is the whole installation.
If the screen keeps slipping, the usual cause is that it has not been expanded quite far enough, or that the sash is not coming down far enough to apply pressure. Adjust and try again. If the sill is badly uneven, the felt edge will cope with a lot, but a very warped sill will always be a struggle.
What it will not do
Being honest about limits saves disappointment. This is an insect and debris screen. It is not a security barrier, and it can be pushed out of the opening from either side with moderate force. Do not treat it as a reason to leave a ground floor window open when the house is empty.
It will not stop a child or a pet from falling, and it should never be positioned as if it might. Use proper window restrictors for that, and keep the screen in its actual job.
It will not hold a pet indoors either. A cat that wants out will go through or past a light insert. Plenty of cat owners use these screens happily, but with the animal supervised rather than contained.
And it will not seal the window shut. While the screen is in place, the sash rests on top of it, so the window cannot close flush. Slide the screen out when you want the window properly shut.
Looking after it
Very little is needed. A soft cloth, warm water and a drop of mild detergent will take dust off the mesh and clean the frame. Rinse lightly and let it dry fully before you put it away.
Skip bleach, solvents and scrubbing brushes. They attack the mesh weave and the powder coating, and neither one recovers.
Kitchen screens need more attention than bedroom ones, because cooking leaves a film that catches dust. A wipe every few weeks keeps it clear.
For storage, keep the screen flat or standing upright in a dry spot, with nothing stacked on the mesh. Crushed mesh does not flatten out again properly. Do not force the frame beyond its expansion range when adjusting, since that is the fastest way to loosen the slide.
The short version
If you want air in a window without insects, and you do not want to cut, drill or measure for a custom panel, this is a sensible answer. The pack gives you two screens, each 10 inches high and adjustable from 19 to 36 inches wide, with an aluminum frame, fiberglass mesh and felt edges that close the gaps.
Measure the clear opening first. Match it to the width range. Use the right window type. Do that and the fit is quick, the removal is quicker, and your windows go back to being windows when summer ends.