


The complete guide
How To Re-Screen A Window Or Door Without Calling A Tradesperson
The problem with a torn window screen
A hole in a screen is small damage with an outsized effect. Insects find it within a day. Dust blows through. The loose corner flaps every time the wind picks up, and if you have a cat, the tear widens each week. Meanwhile the window either stays shut in warm weather or stays open and lets everything in.
The frustrating part is that the frame is usually fine. Aluminum screen frames last decades. It is only the mesh that fails, and the mesh is the cheapest part of the whole assembly. Replacing a complete screen unit because of a fist-sized hole is like replacing a car tire because the valve cap went missing.
That is the gap a screen mesh repair kit fills. You keep the frame, swap the mesh, and the panel is back to new condition for a fraction of the cost and without a service call.
How a screen frame actually holds mesh
Once you understand the construction, the repair stops feeling intimidating. Nearly every modern window screen and sliding screen door works the same way.
The frame has a narrow groove running around its inner edge. The mesh is laid over the frame, then a flexible cord called spline is pressed down into that groove. The spline pinches the mesh into the channel and holds it there under tension. No glue, no staples, no screws. That is the whole mechanism.
Because it is a friction fit, it is completely reversible. If you seat a side badly, you lift the spline back out and redo it. There is no point in the job where you commit to a mistake, which is why this is such a good first DIY project.
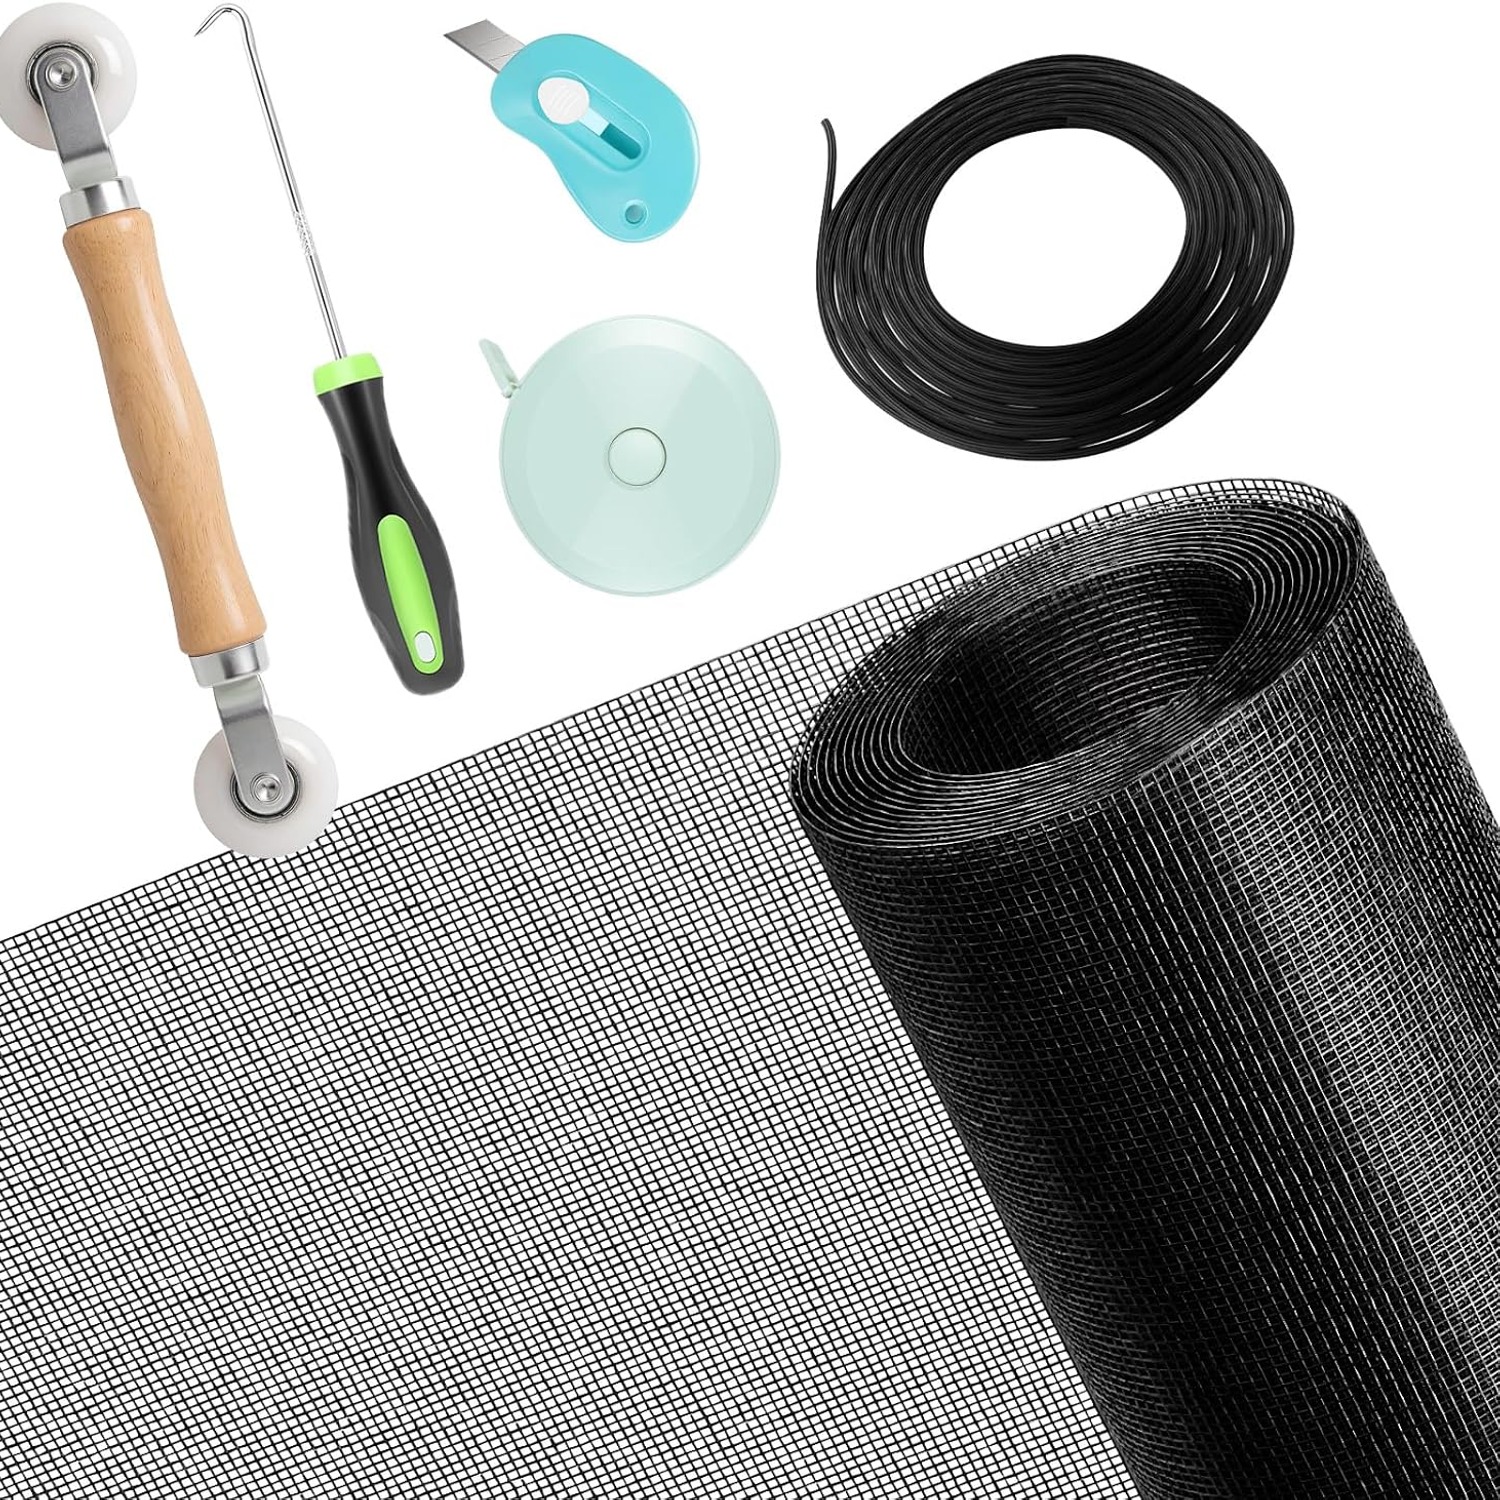
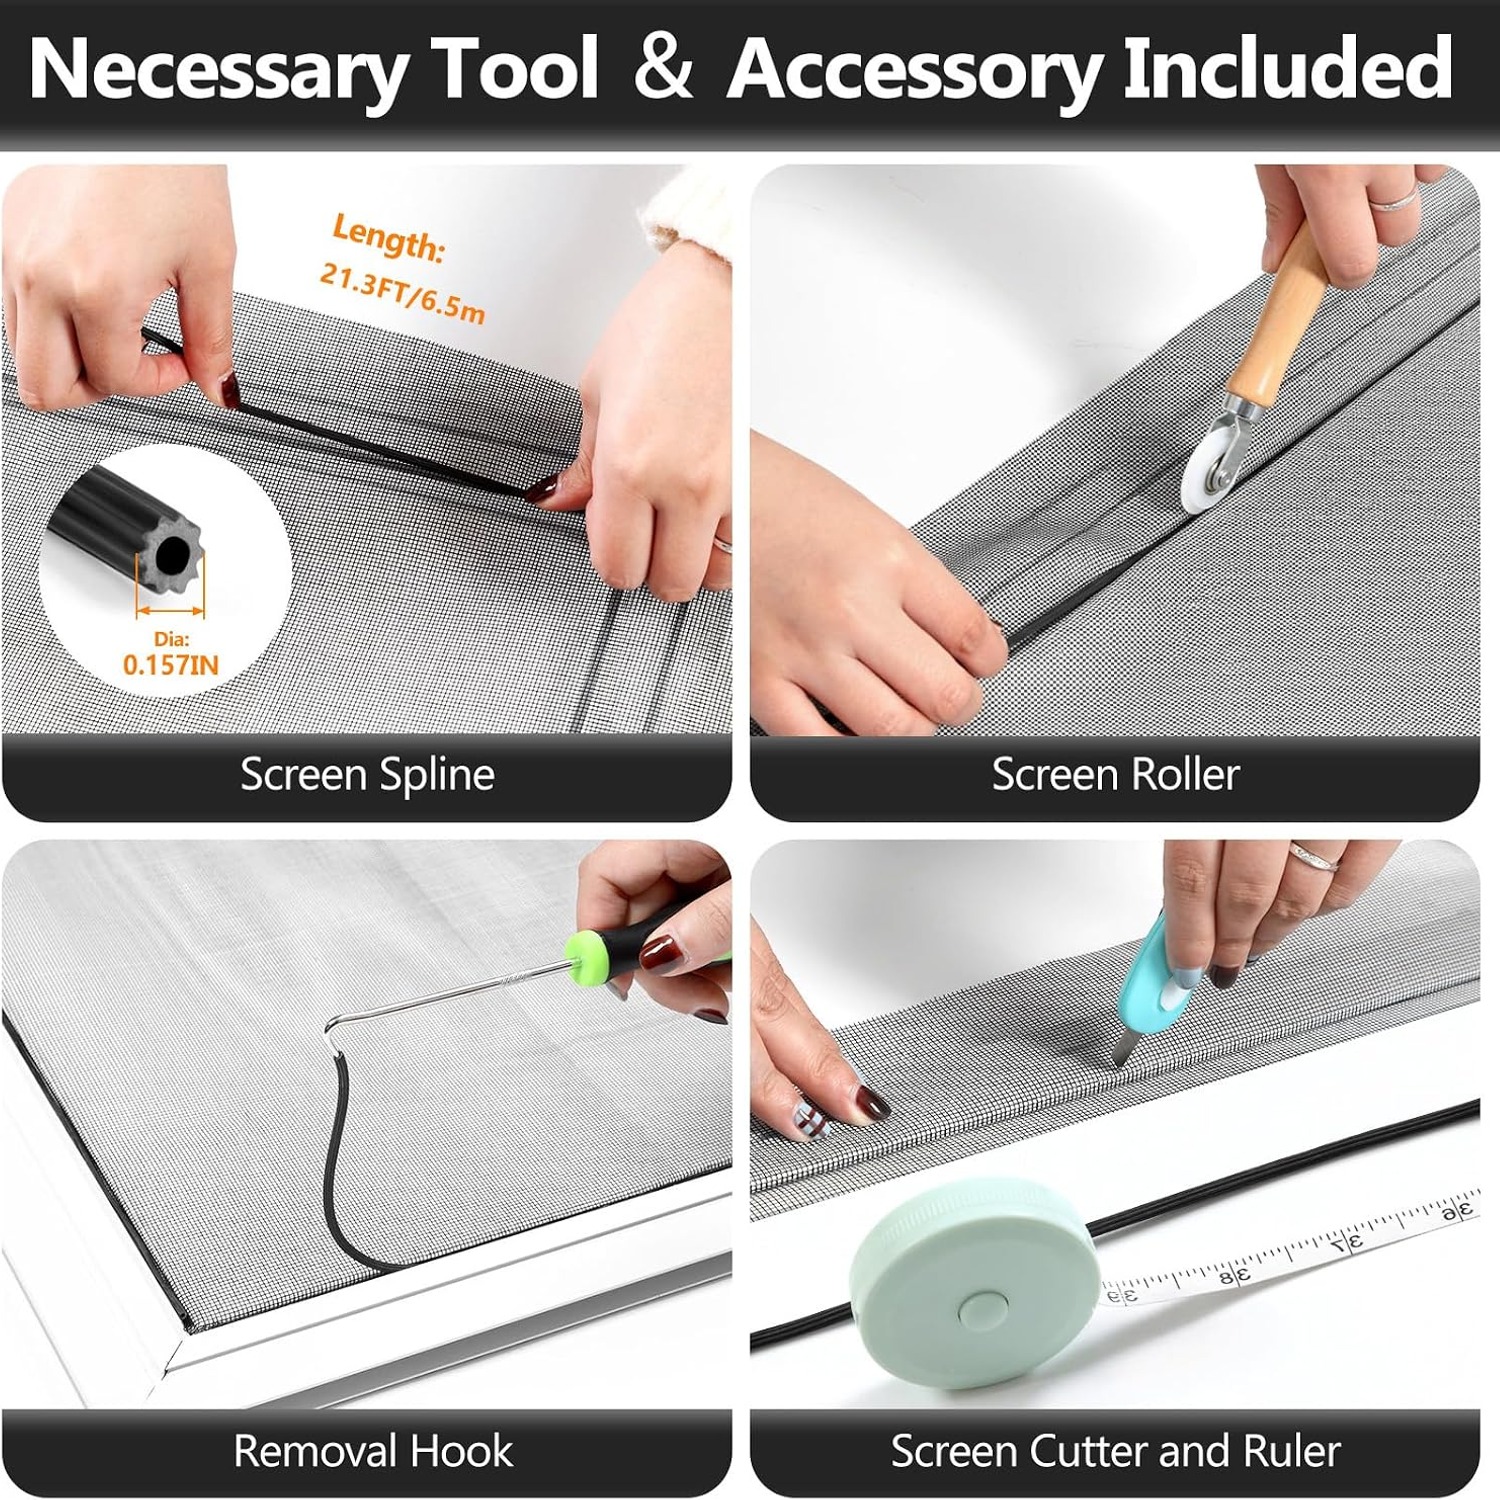
The tool that makes it work is the rolling tool. It has two wheels on bearings. The concave wheel pushes the mesh down into the groove. The convex wheel presses the spline in after it. A wooden handle gives you a comfortable grip to lean on. Doing the same job with a screwdriver is possible, and it is also how people end up with punctured mesh and sore hands.
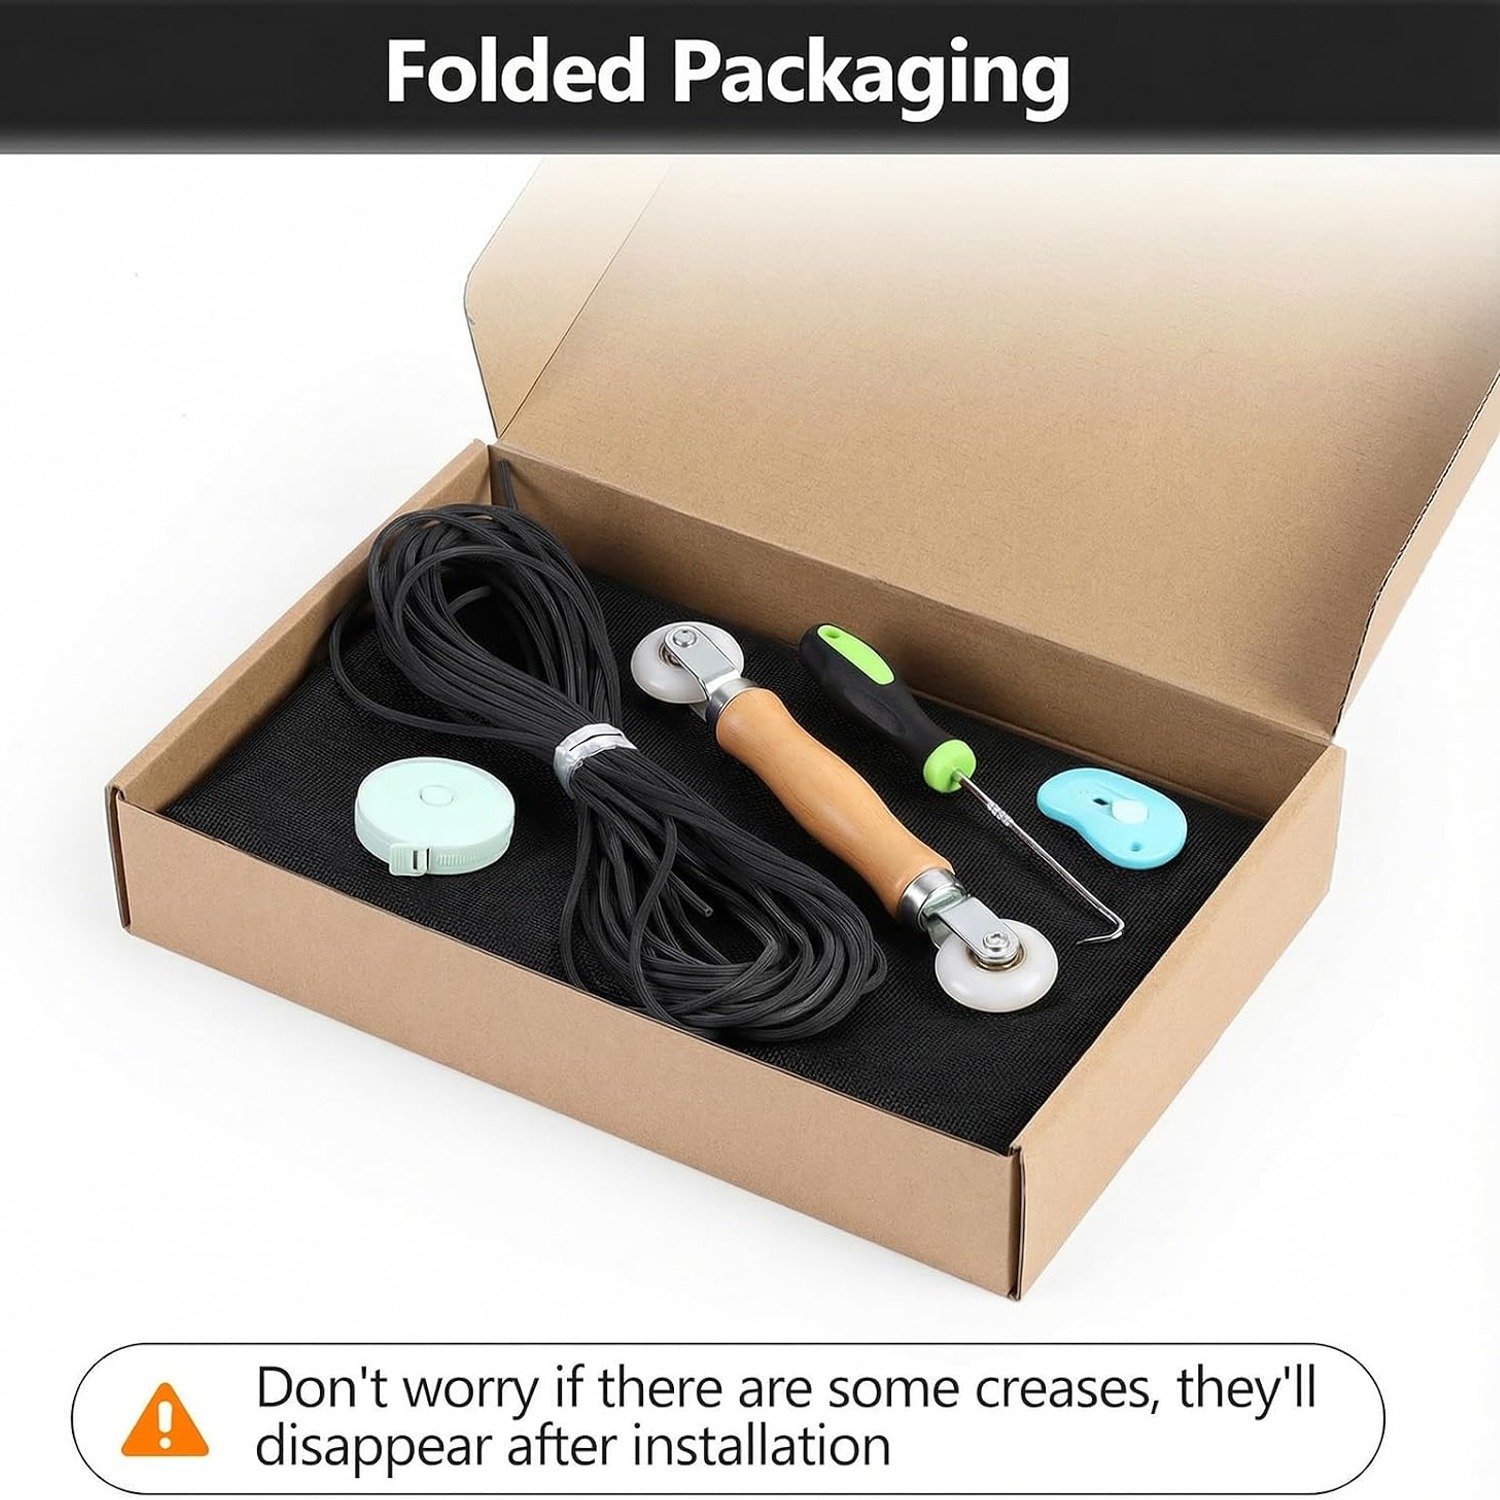
What is in this kit and why each piece matters
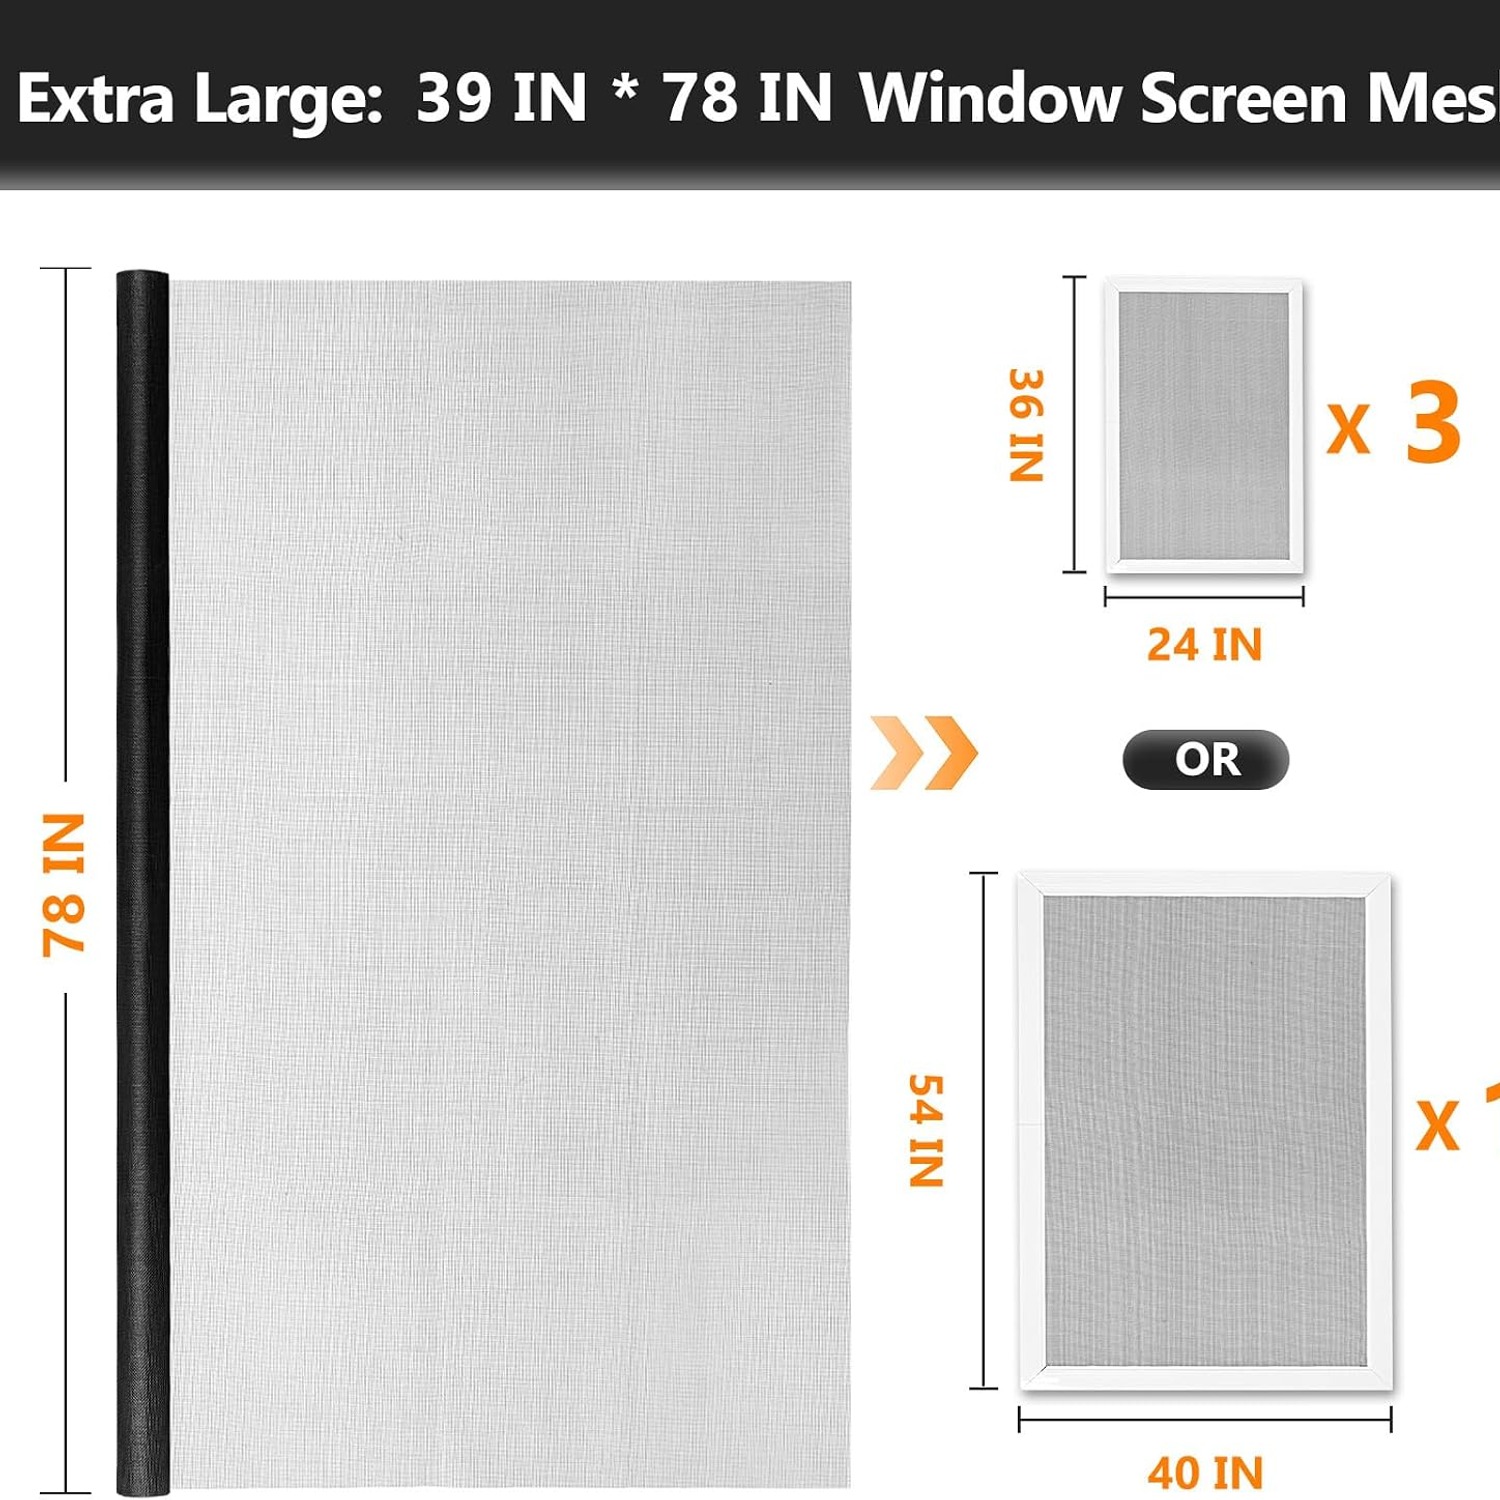
The black fiberglass mesh sheet measures 39 inches by 78 inches. Fiberglass is the standard material for household insect screens because it bends instead of denting. Push a finger into aluminum mesh and you leave a permanent dimple. Push a finger into fiberglass and it springs back. For doors and low windows where people and pets make contact, that flexibility matters.
Black is the sensible color for visibility. Looking out from a lit room through dark mesh, your eye largely ignores the screen. Lighter mesh catches the light and reads more like a veil.
The spline is high-elasticity cord. Old spline goes hard and brittle over the years, which is often why mesh works loose in the first place. Fitting fresh spline at the same time as fresh mesh means you are not reusing the weakest component.
The hook is for extraction. You slide it under the end of the old spline and lever it up far enough to grab by hand. The cutter trims the excess mesh once the spline is in, and the ruler helps you mark straight lines and measure the frame before you start cutting. Every tool except the mesh and spline is reusable, so the kit lives in the shed and gets used again next time.
Who this suits
This is aimed at people with ordinary spline-groove screens, which covers most households. Standard windows, sliding screen doors, patio screens and porch screens all use the same system.
It is a strong choice if you look after more than one property. Landlords, holiday-house owners and small property managers get repeated value from one kit, because the tools do not wear out and mesh is inexpensive. A window screen repair kit on the shelf turns a tenant complaint into a ten minute visit.
It also suits anyone who wants the job done on their own schedule. Screen repair is not usually urgent enough for a trade visit to feel worth booking, which is exactly why torn screens sit unfixed for so long.
Where it is not the right tool: timber screens built with staples and beading, security screens with welded or riveted mesh, and oversized enclosure panels that need more material than one sheet provides. Measure first in all three cases.
Choosing the right mesh and planning the cut
Start with a tape measure. Measure the frame outside edge to outside edge, both directions, and write it down. Add about five centimeters on every side for handling overhang. Compare that figure to the 99 by 198 cm sheet.
For most windows, you will get two or even three panels out of one sheet if you plan the layout before cutting. Lay the frames on the mesh mentally, or literally, and work out the arrangement that wastes the least. Cut the biggest panel first. Offcuts are genuinely useful for small patches later, so keep anything larger than a hand span.
Check the spline too. Pull a short length of the old spline from your frame and compare its thickness to the new cord. Grooves vary between manufacturers. A spline that is slightly too thick will not seat properly and a slightly thin one will let the mesh pull loose over a season.
Doing the job step by step
Take the frame out of the window and lay it flat on a table or a clean floor. This is the single biggest factor in a neat finish. Mesh installed on a vertical frame almost always ends up skewed.
Hook out the old spline, pull it free, and lift away the old mesh. Brush grit out of the groove. A clean channel grips far better.
Lay the new mesh over the frame with even overhang on all sides. Start on one long side. Run the concave roller wheel along the groove to tuck the mesh down, then press the spline in behind it with the convex wheel. Work the opposite long side next, applying gentle tension as you go. Then do the two short sides. Corners are where the mesh wants to lift, so slow down and press firmly.
Stand back and look at the mesh. Slight ripples usually relax out. Heavy waves mean one side is too tight, so lift that spline and redo it. This is the step people get wrong and it is also the easiest step to fix.
Finally, trim. Run the cutter along the outside of the spline at a shallow angle, blade against the frame, moving slowly. Refit the frame to the window and you are finished.
Looking after the new screen
Washing is simple. A soft brush or a cloth with mild soapy water removes dust and pollen, then rinse gently and let it dry. Skip pressure washers and solvents, both of which stretch or weaken fiberglass mesh.
Check the spline each year, particularly on screens in full sun. If a corner starts lifting, pressing it back in with the roller usually fixes it on the spot.
Store leftover mesh flat or loosely rolled and out of direct sunlight so it does not take a permanent curl. Keep the roller, hook and cutter dry so the metal parts stay clean, and keep the cutter somewhere children cannot reach.
The short version
A torn screen rarely means a ruined frame. It means tired mesh and old spline, both of which are quick and cheap to replace. This kit gives you the mesh, the fresh spline and the four tools that make the job straightforward, all in one box.
Measure your frame, lay it flat, roll the new mesh in, and trim. Most people are done with their first window inside half an hour, and the tools stay in the shed for the next one.