
The complete guide
How To Choose And Build A Window Screen Frame Kit
The problem with a torn window screen
A split screen is a small fault that causes a steady annoyance. Insects find the hole within a day. The breeze you wanted becomes a choice between fresh air and mosquitoes. And because the damage usually starts in a corner or along the bottom rail, patching it with tape never looks right and never lasts.
Most people then discover the second problem. Replacement screens are rarely stocked in the size they need. Windows in older houses are often slightly odd, and even newer homes have one awkward opening above a sink or in a stairwell. Ordering a made-to-measure unit means measuring carefully anyway, waiting a week or two, and paying for someone else's labor on top of the materials.
That is the gap a screen frame kit fills. You get the frame stock, the corners and the spline in one package, and you cut it to whatever size the window actually is.
What is in the box and what it does
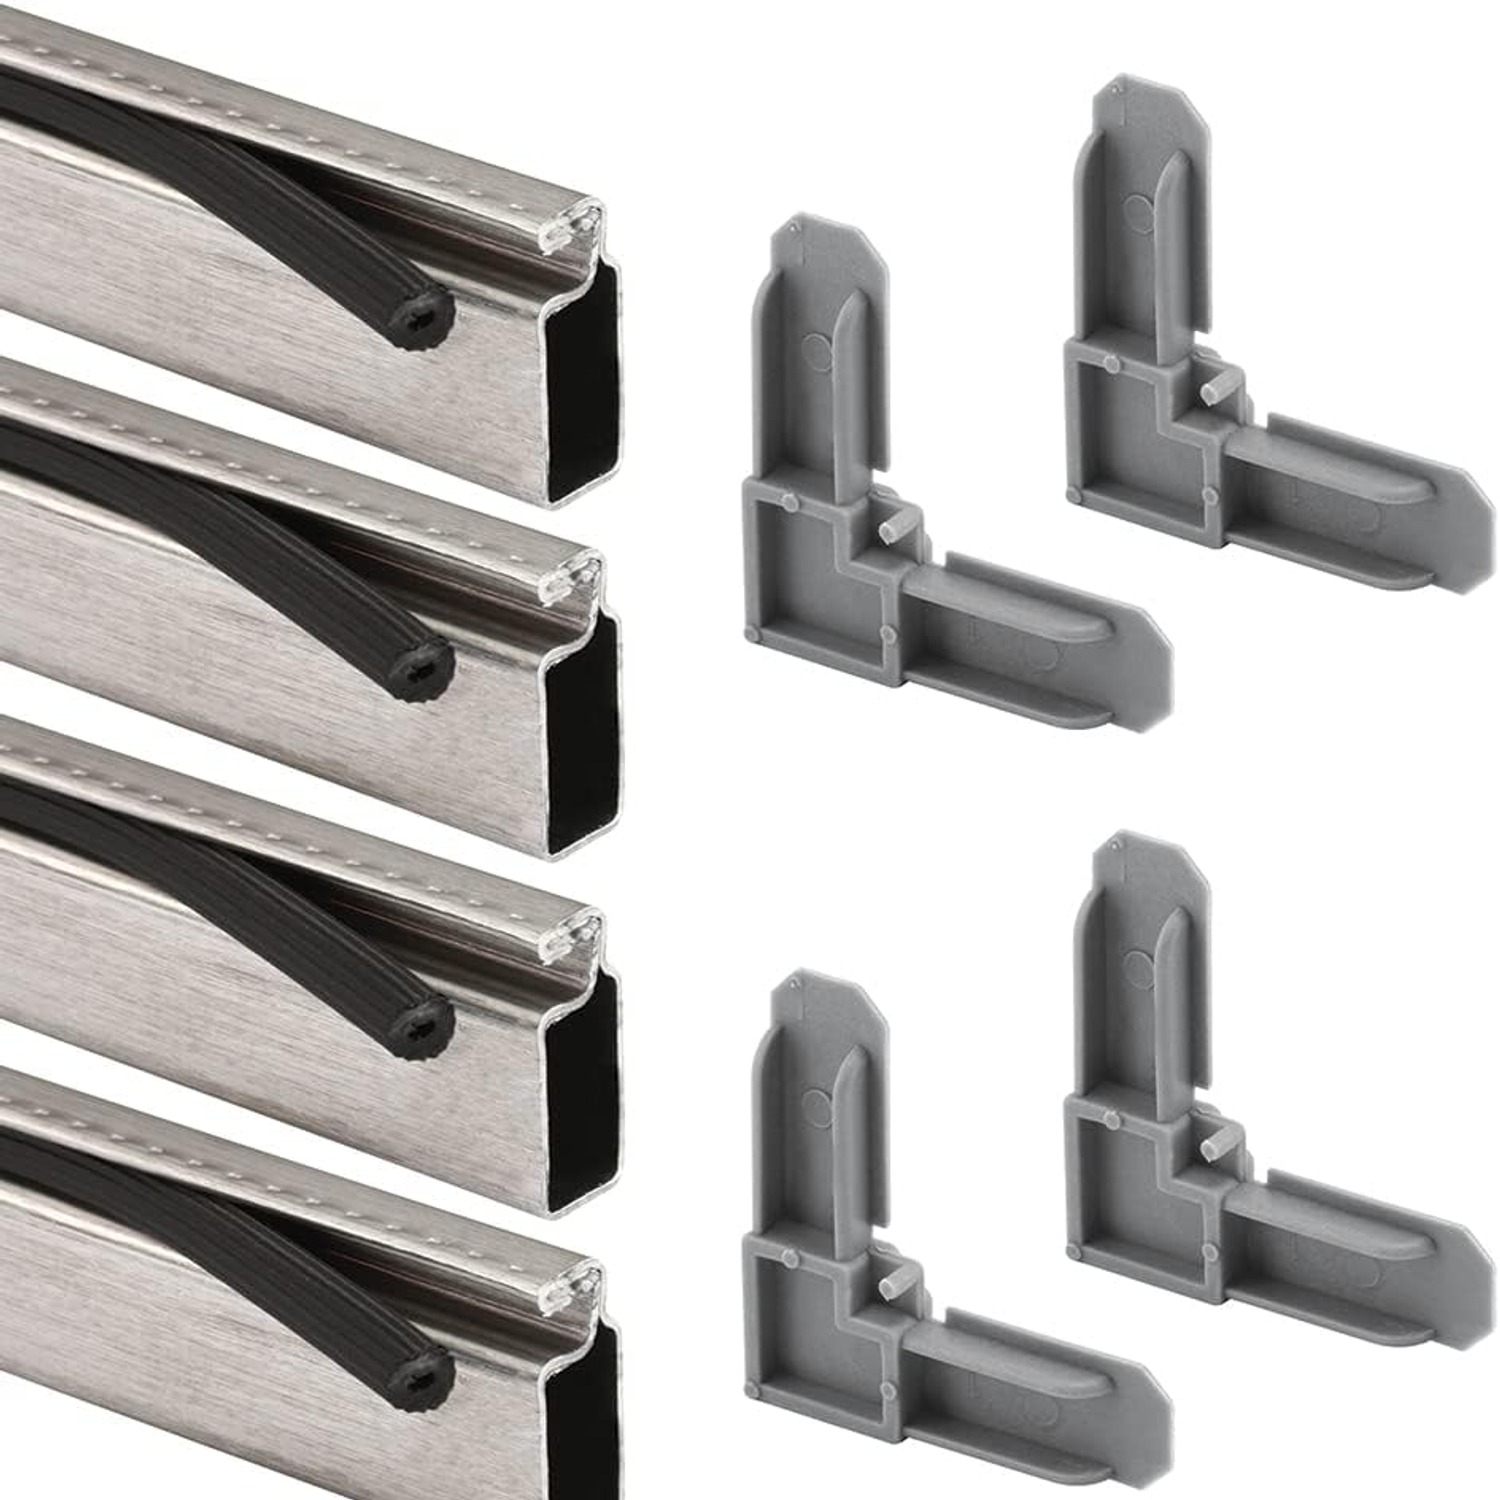
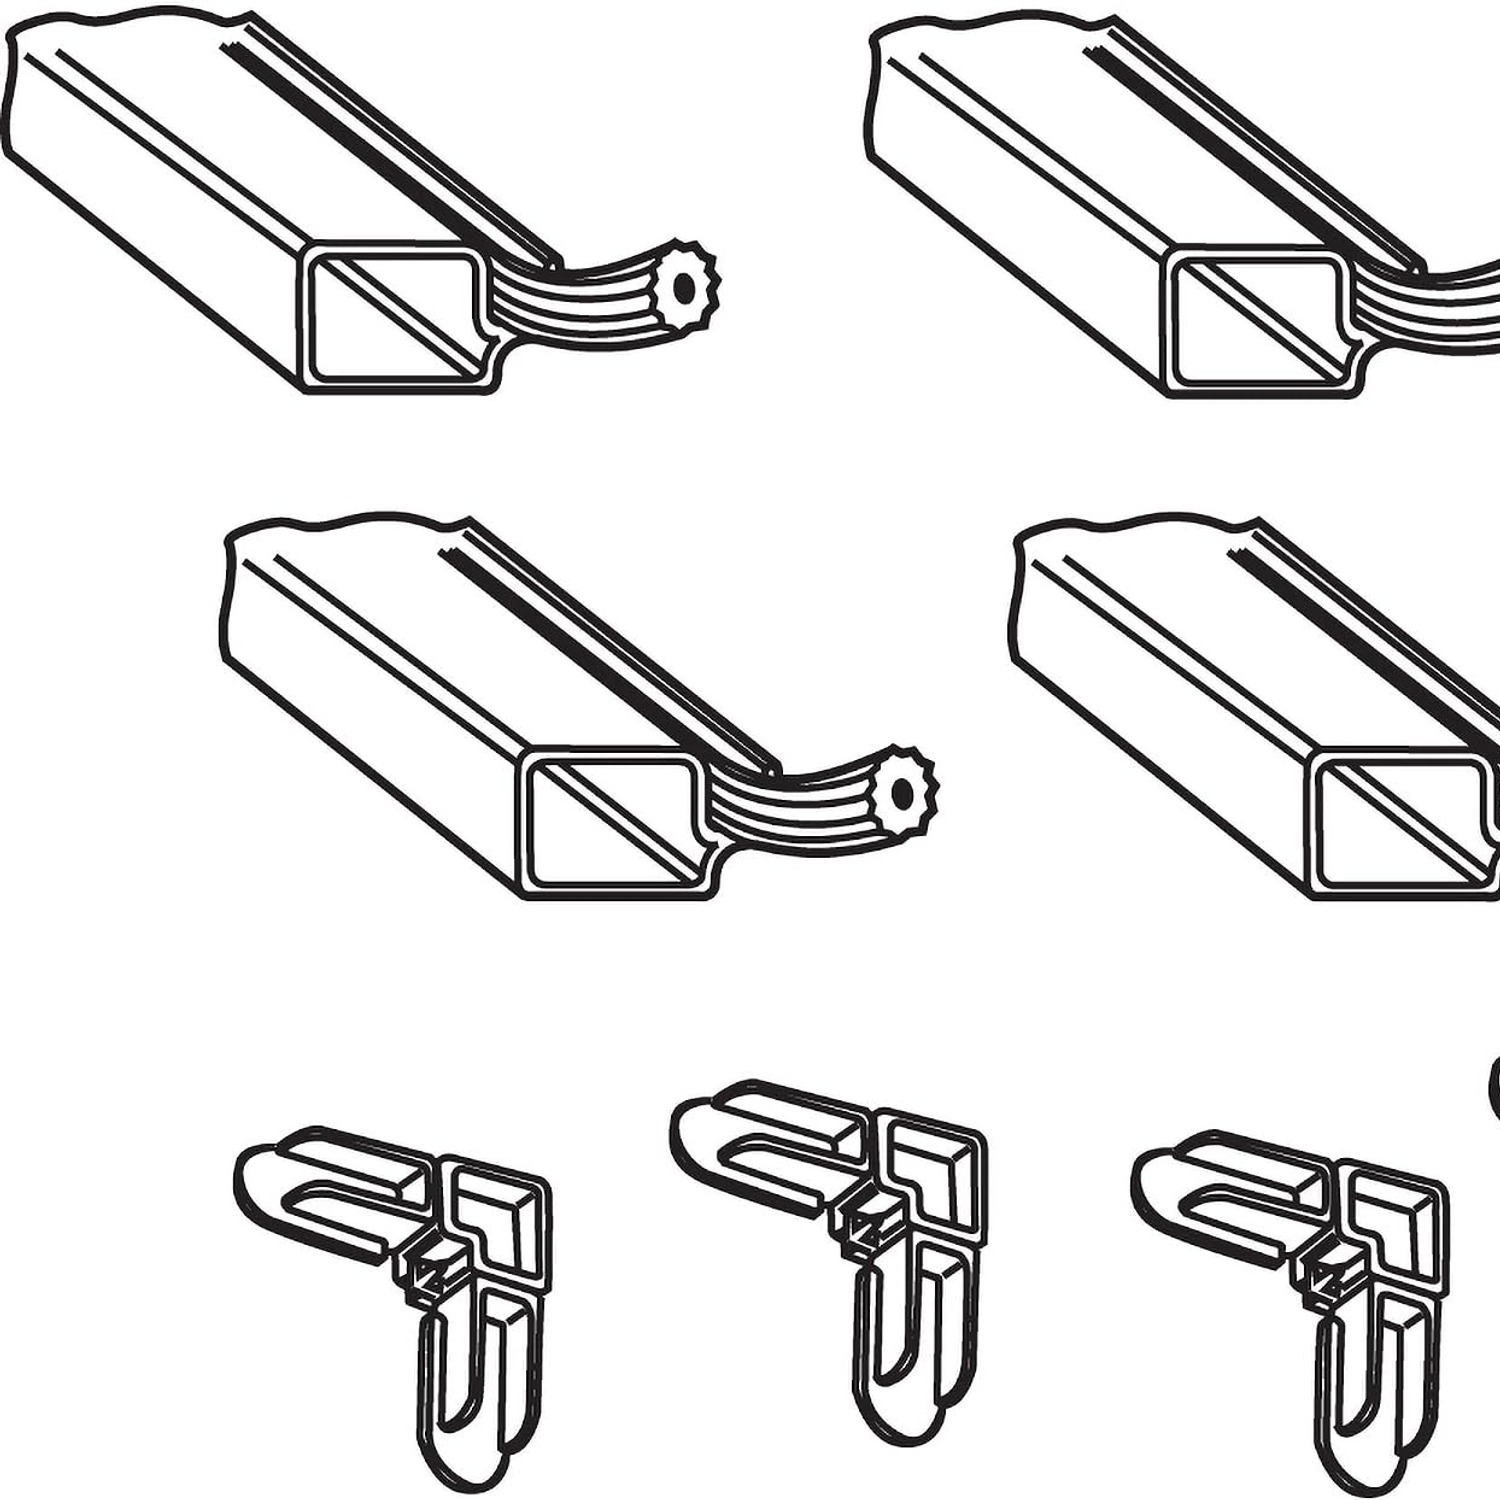
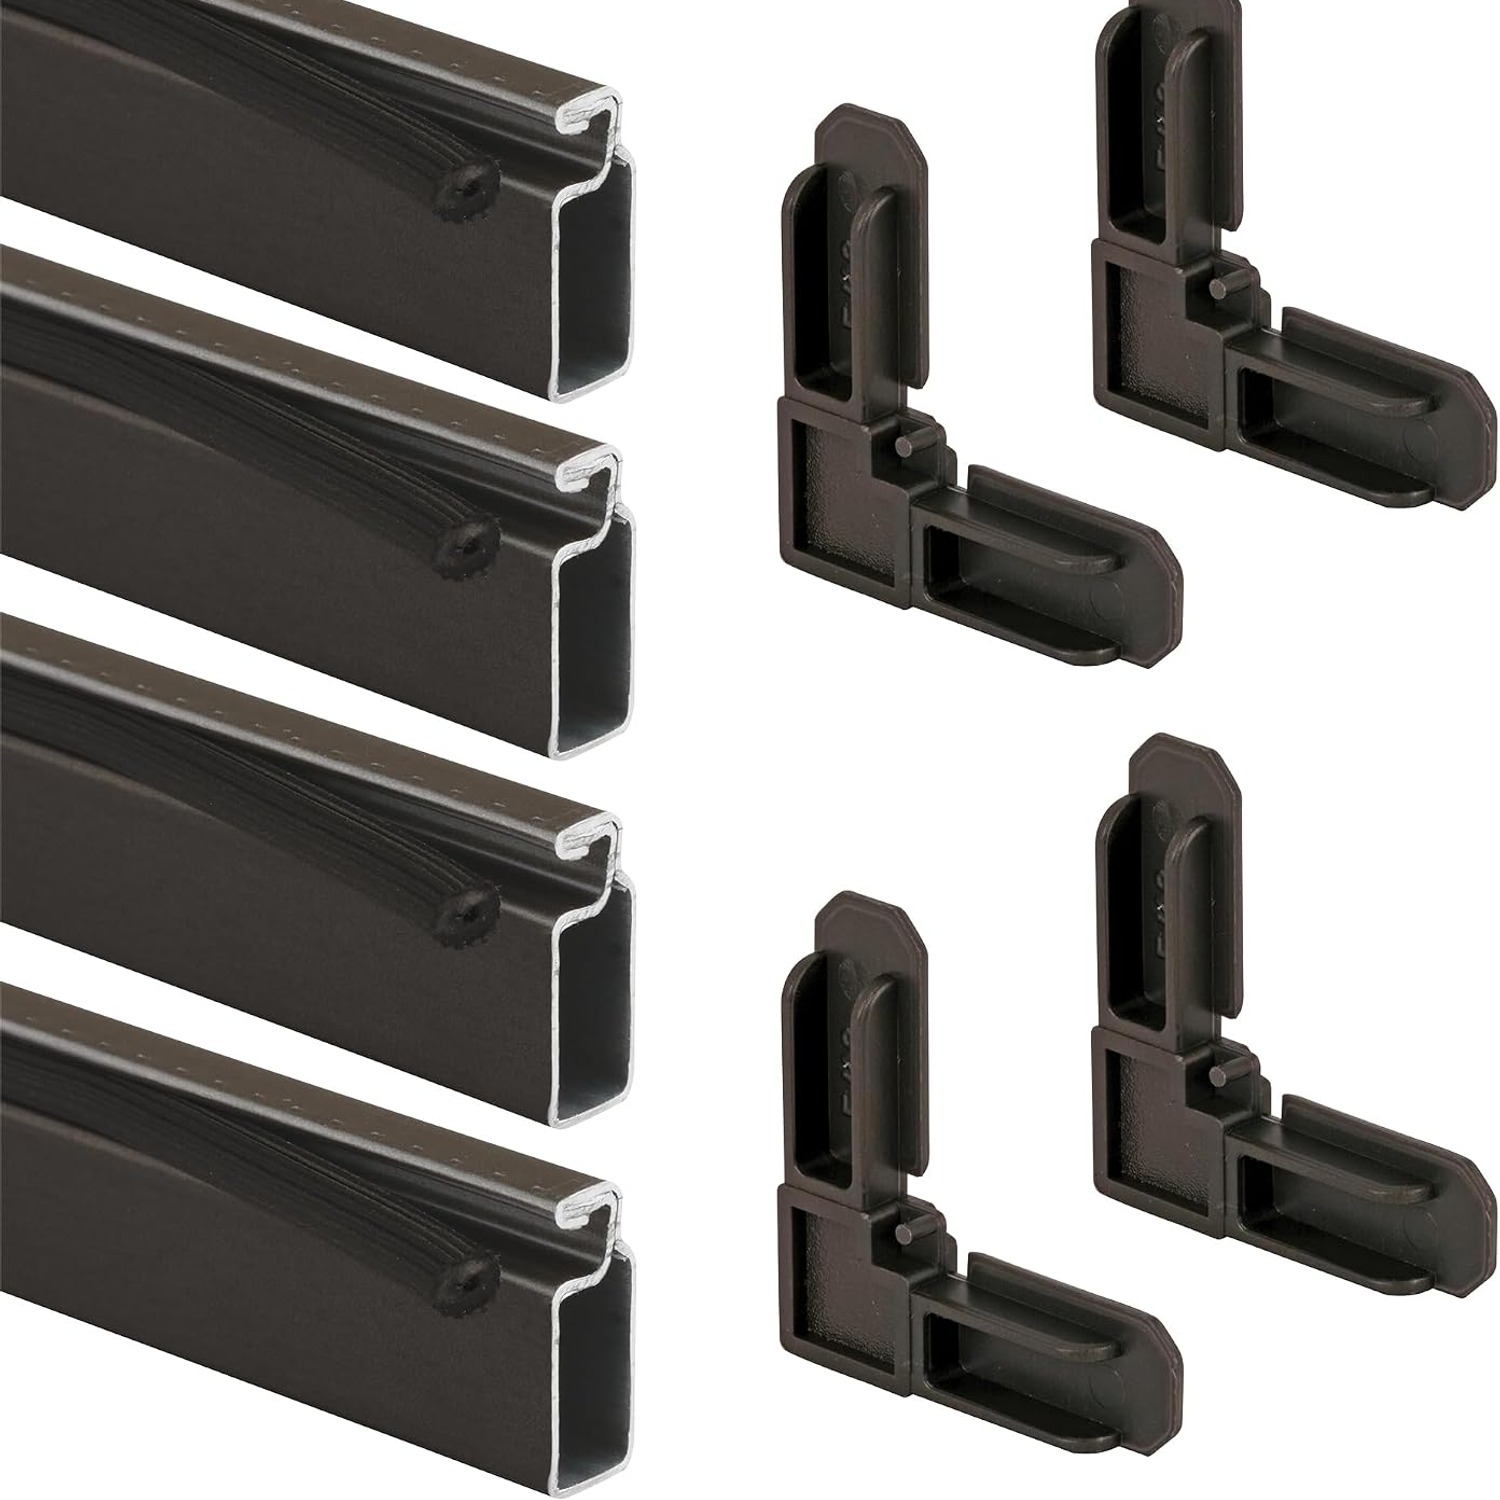
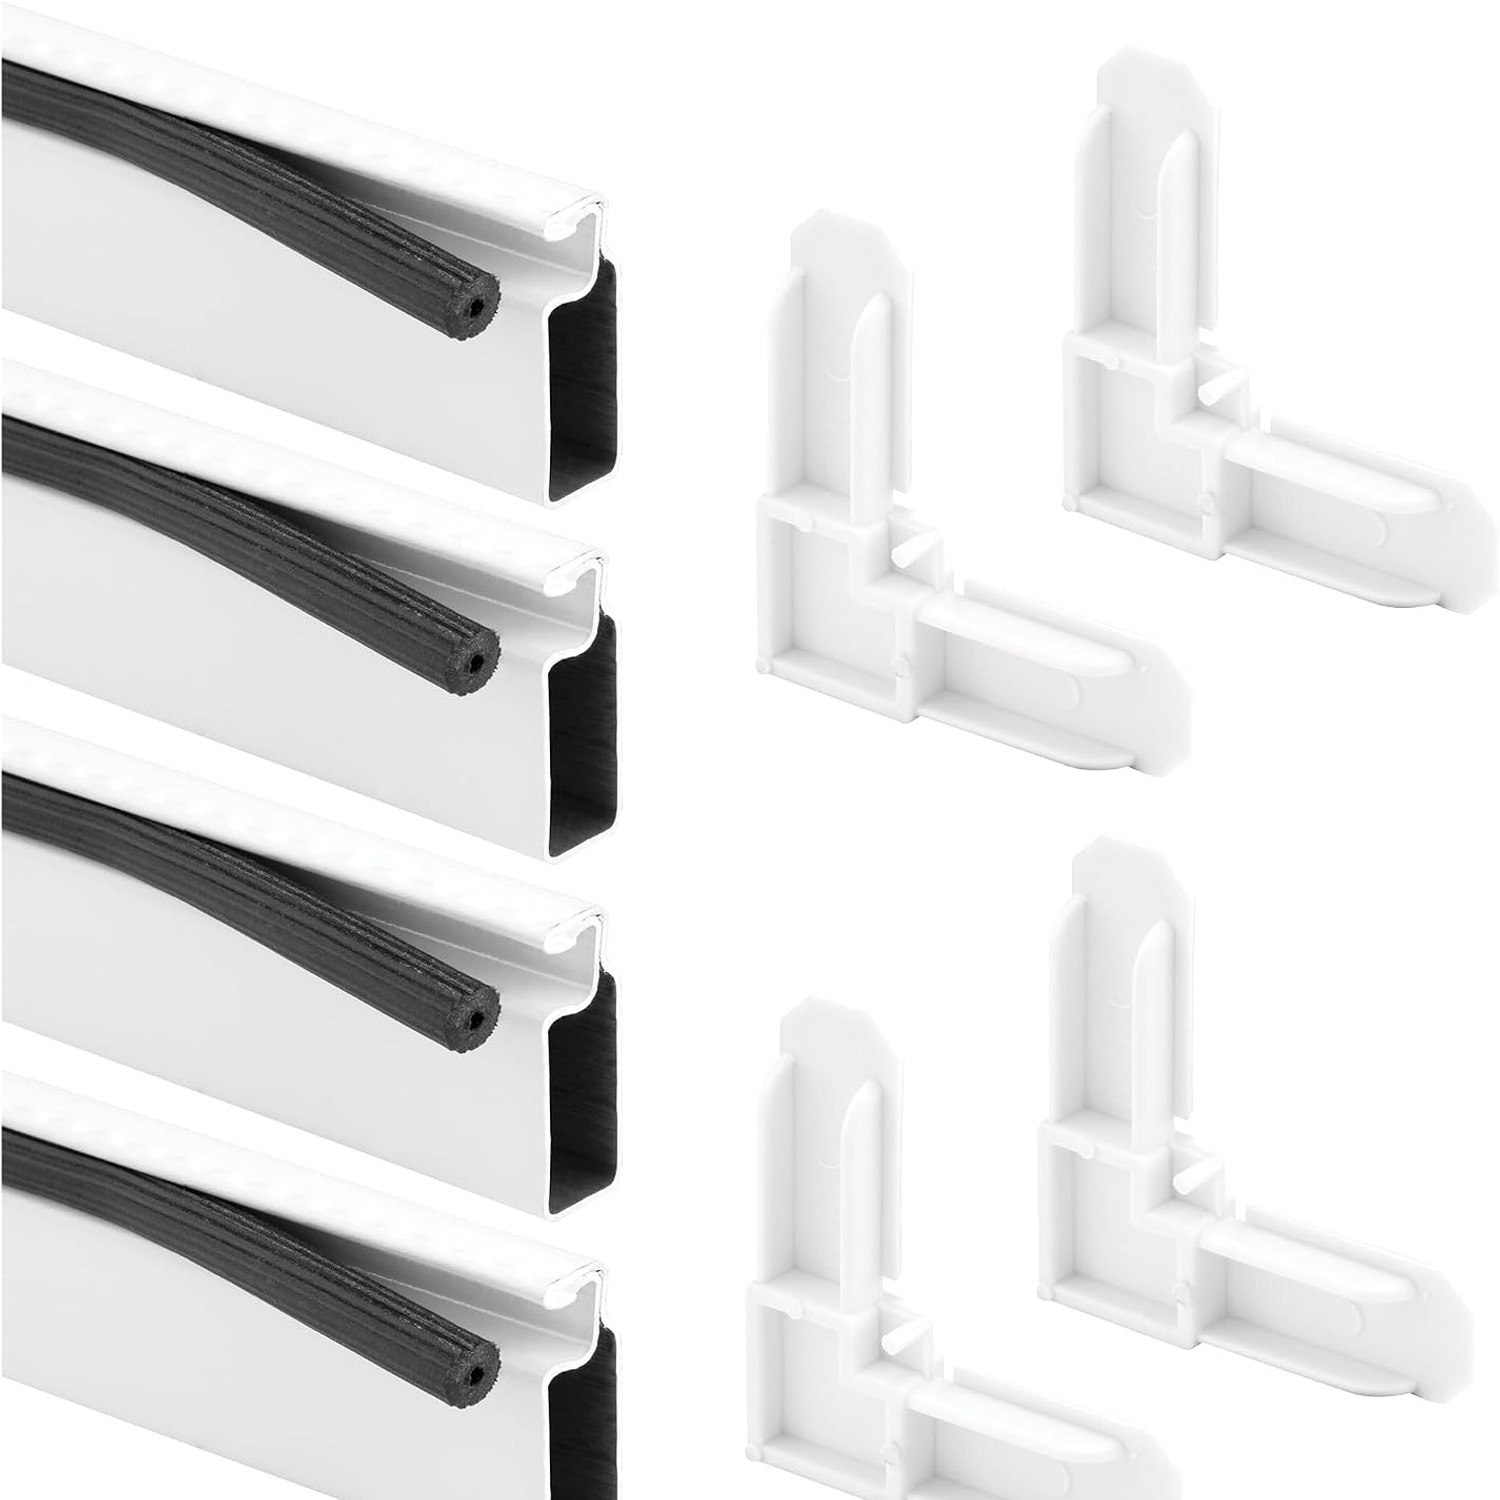
This kit contains roll-formed aluminum frame material in a mill finish, four square-cut plastic corners in gray, and vinyl spline. The frame profile measures 5/16 inch by 3/4 inch, which is a common residential screen size. The lineals ship at 60 inches long, and between them you have enough material for one screen measuring up to 36 inches by 36 inches.
Screen fabric is not supplied. That is deliberate. Aluminum mesh, fiberglass fabric and flexible poly film all work with this frame, and the right one depends on your situation rather than on the frame itself.
Mill finish simply means the aluminum has not been painted or anodized. It is the plain silver-gray of bare metal, and it sits comfortably next to most aluminum window frames without drawing attention.
The camber detail that most people miss
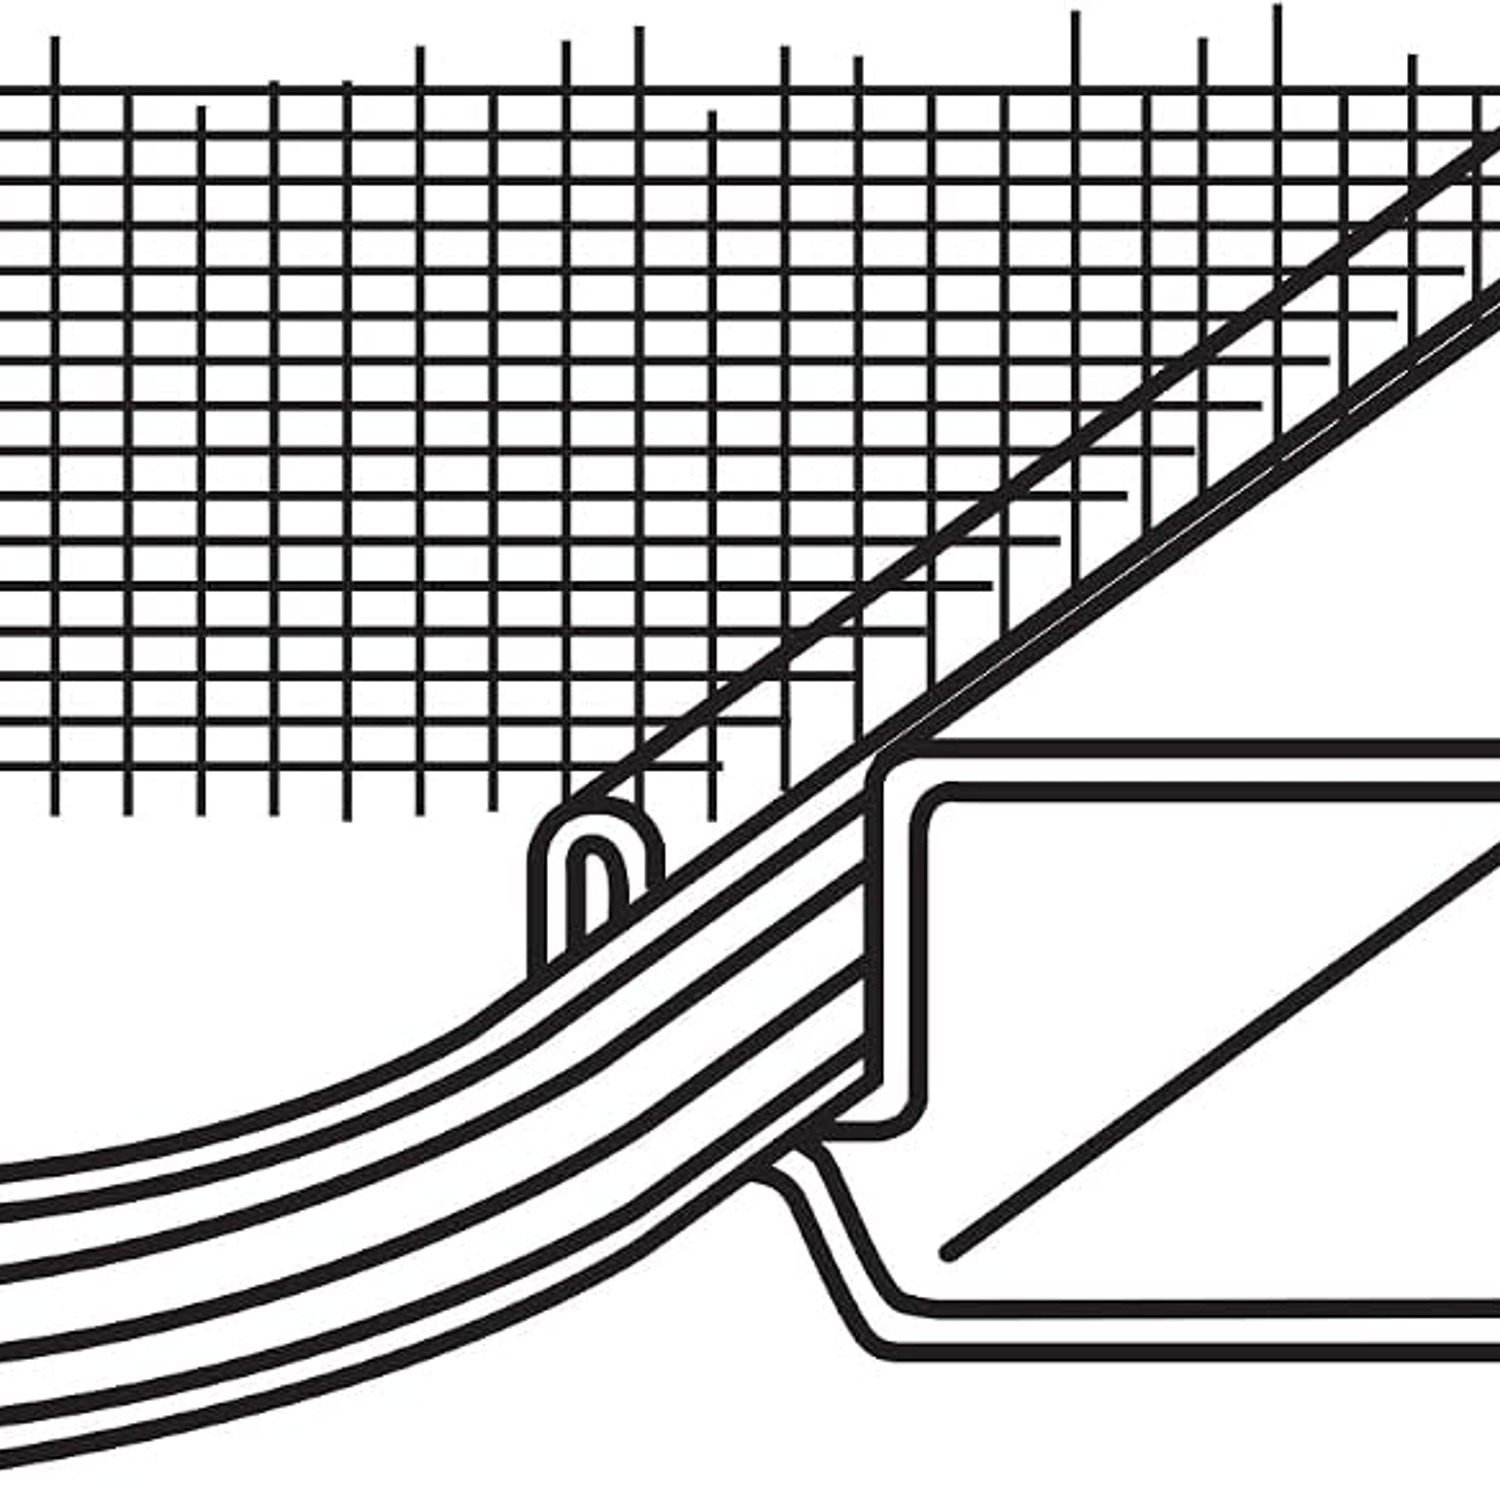
Here is the part worth understanding before you start. The lineal pieces are formed with a slight outward bow. If you lay one on a bench it will not look perfectly straight, and that is correct.
When you stretch mesh across a rectangular frame and roll spline into the groove, the mesh pulls inward on all four sides. On a perfectly straight frame, the long sides bend toward each other and the finished screen ends up pinched in the middle. It then rattles in the track, or will not go in at all.
The outward camber is sized to cancel that pull. Build the frame, stretch the mesh properly, and the sides straighten out. This is why using proper screen frame material beats cutting up some scrap aluminum angle you had in the shed.
Who this suits
Homeowners with one or two screens to fix are the obvious group. So are landlords, who tend to deal with the same repair repeatedly across a portfolio and want to stop paying a glazier for a twenty minute job.
It also suits anyone working with non-standard openings. Caravans, cabins, sheds, garden rooms and older cottage windows almost never match an off-the-shelf screen. If your opening is under 36 inches in both directions, this kit covers it.
The one group it does not suit is anyone needing a screen door or a sliding patio screen. Those take a heavier section and rolling hardware. Use a kit made for doors instead.
Choosing your mesh
Since mesh is bought separately, the choice matters.
Aluminum mesh is the toughest common option. It holds its shape, resists stretching and stands up to weather and sunlight over the long run. It creases if you fold it, so handle it flat.
Fiberglass is softer, forgiving to work with and kinder on the wallet. It is the usual pick for a first attempt because it stretches evenly and does not kink. It will give way under a determined cat, though.
Pet-grade mesh is a thicker woven product aimed at households with dogs or cats that lean on screens. It costs more and is stiffer to spline, but it solves the recurring hole problem.
Flexible poly film is a specialty option used where you want a clear or solid barrier rather than an open weave. It works with this frame, but it is a niche choice.
Building the screen, step by step
Start by measuring. If the old frame still exists, measure its outside dimensions and copy them. If the screen is gone, measure the opening and check how deep the track is, since the frame has to sit in that channel.
Cut the lineals square at 90 degrees with a hacksaw or a fine-tooth blade in a mitre saw. The corners supplied are square-cut, so no angled cuts are needed. Deduct the amount the corners add at each end, following the instructions packed with the kit, and dry-fit everything before you commit.
Push the four corners into the lineal ends and assemble the rectangle on a flat floor. Check the diagonals with a tape measure. If both diagonals are equal, the frame is square. Nudge it until they match.
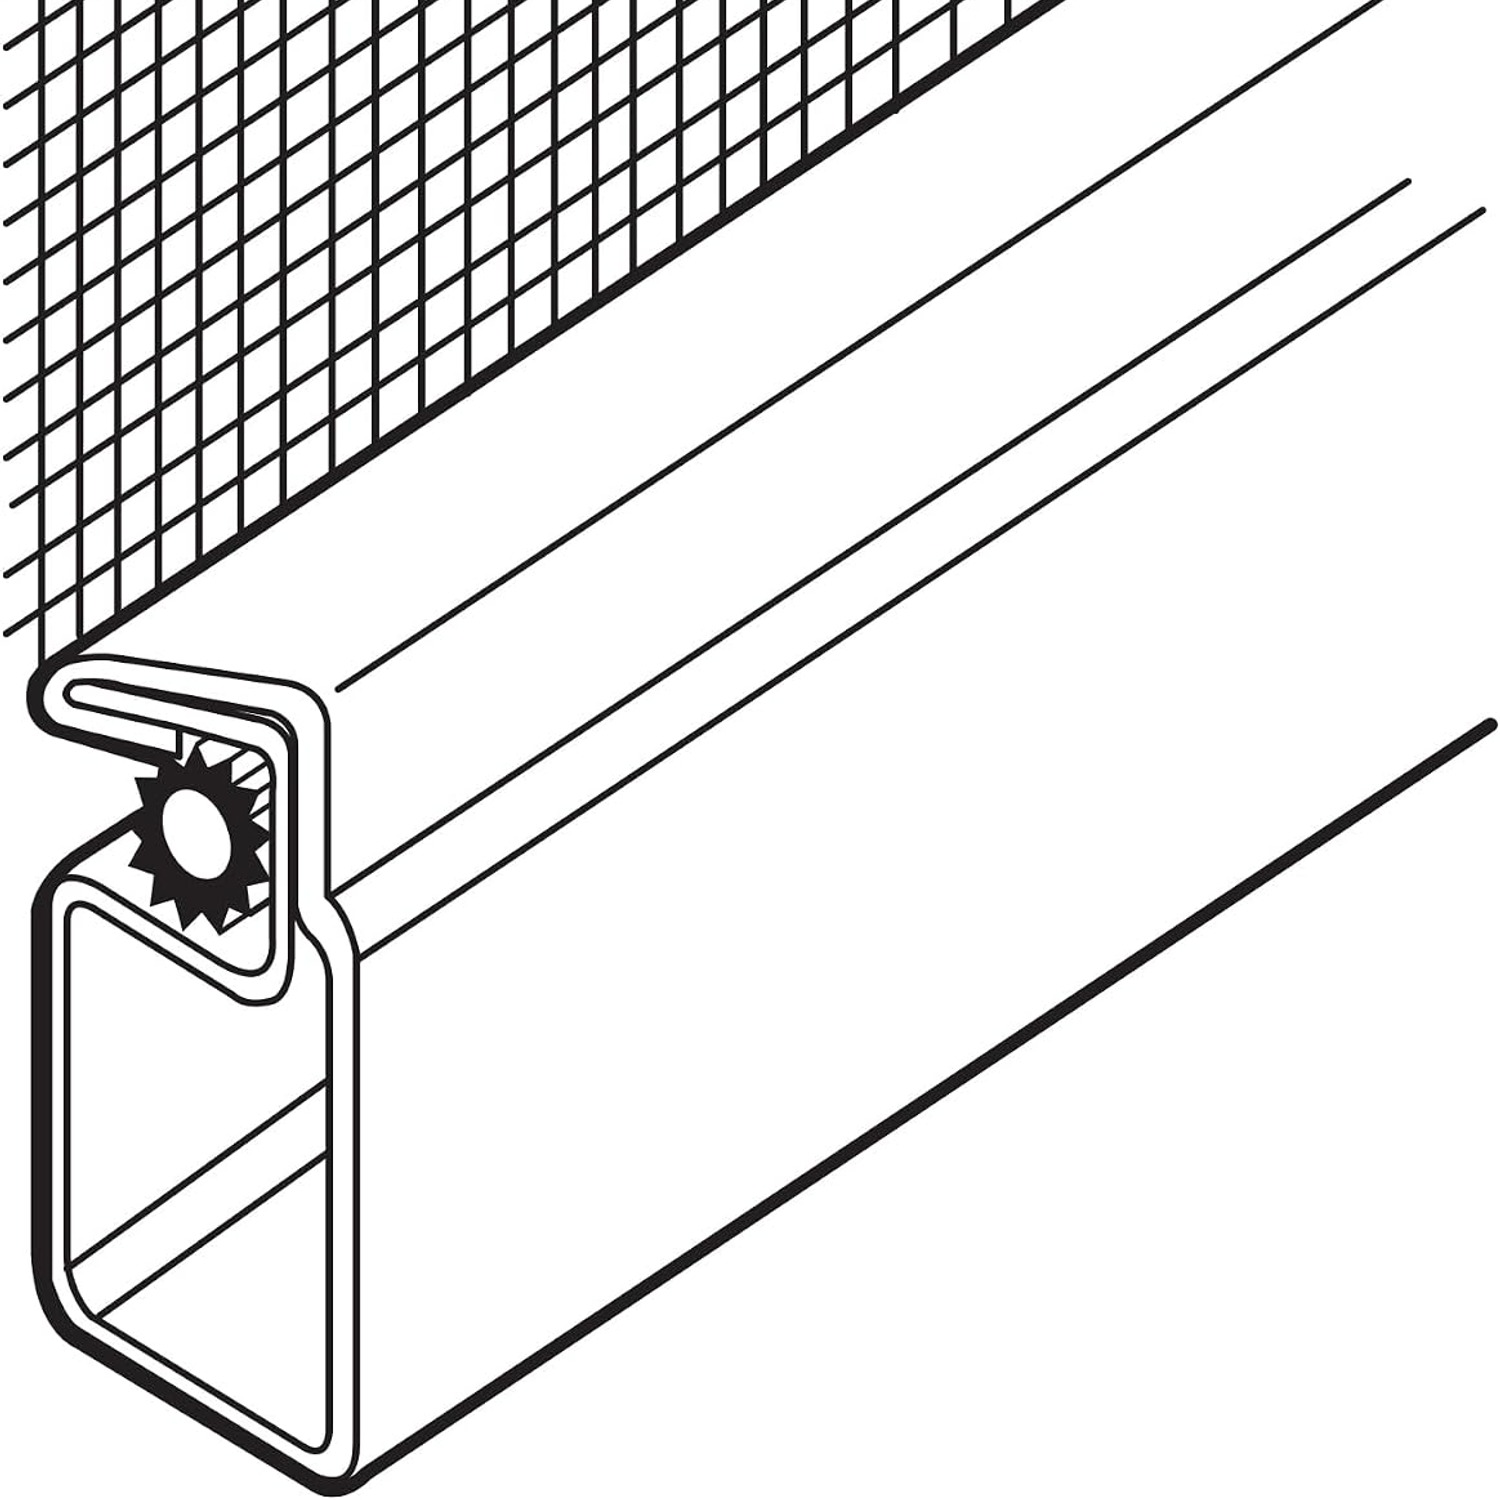
Lay your mesh over the frame with a couple of inches of overhang on all sides. Start on one long side and roll the spline into the groove with the convex wheel of a spline tool. Then do the opposite long side, pulling the mesh gently flat as you go. Finish with the two remaining sides.
Trim the excess mesh with a utility knife held against the outer edge of the spline groove. Work slowly here, because a slipped blade cuts into the mesh you just installed.
Getting the tension right
New builders tend to pull too hard. Firm and flat is the target. If you can press the mesh and it gives slightly without rippling when released, you are in the right range.
Ripples usually mean uneven tension rather than too little. Pop the spline out on the offending side, re-flatten and roll it again. Spline is reusable within the same session, so a redo costs nothing but a few minutes.
Care and longevity
Aluminum does not rust, though it can pick up a dull oxide film over the years. A wipe with mild soapy water and a dry cloth keeps it clean. Avoid abrasive pads on the plastic corners, which scuff easily.
Once a year, take the screen out, lay it flat and brush the mesh with a soft brush. Rinse with gentle water pressure. Keep pressure washers away, since high pressure pushes mesh out of the spline groove and undoes your work.
Check the spline each season. If a section has lifted, press it back in with the spline tool before dirt works into the gap.
The short version
This is a straightforward aluminum screen frame kit that builds one window screen up to 36 inches square, or anything smaller. The frame, four square-cut corners and vinyl spline all come in the box. You choose and supply the mesh, which is what lets you match the screen to the window rather than the other way around.
The outward camber in the lineals is the detail that makes the finished screen sit straight once the mesh is splined tight. Cut square, keep the frame square, and take your time with tension. Your first screen takes about an hour. After that, you will wonder why you ever waited on a quote.